CREATION PROCESS
Every 3D character goes through multiple specialized stages. This page breaks down each step so you understand exactly what you're getting and why it takes the time it does.
BLOCKOUT — BUILDING YOUR CHARACTER'S FOUNDATION
WHAT HAPPENS HERE
I create a rough 3D sketch of your character using simple shapes. Each body part stays separate at this stage — think of it like building with clay blocks that can still be resized and adjusted.
WHY IT MATTERS TO YOU
This is your best opportunity to request changes. Want broader shoulders? Thicker thighs? More muscular build? This is the stage where those adjustments happen without major rework.
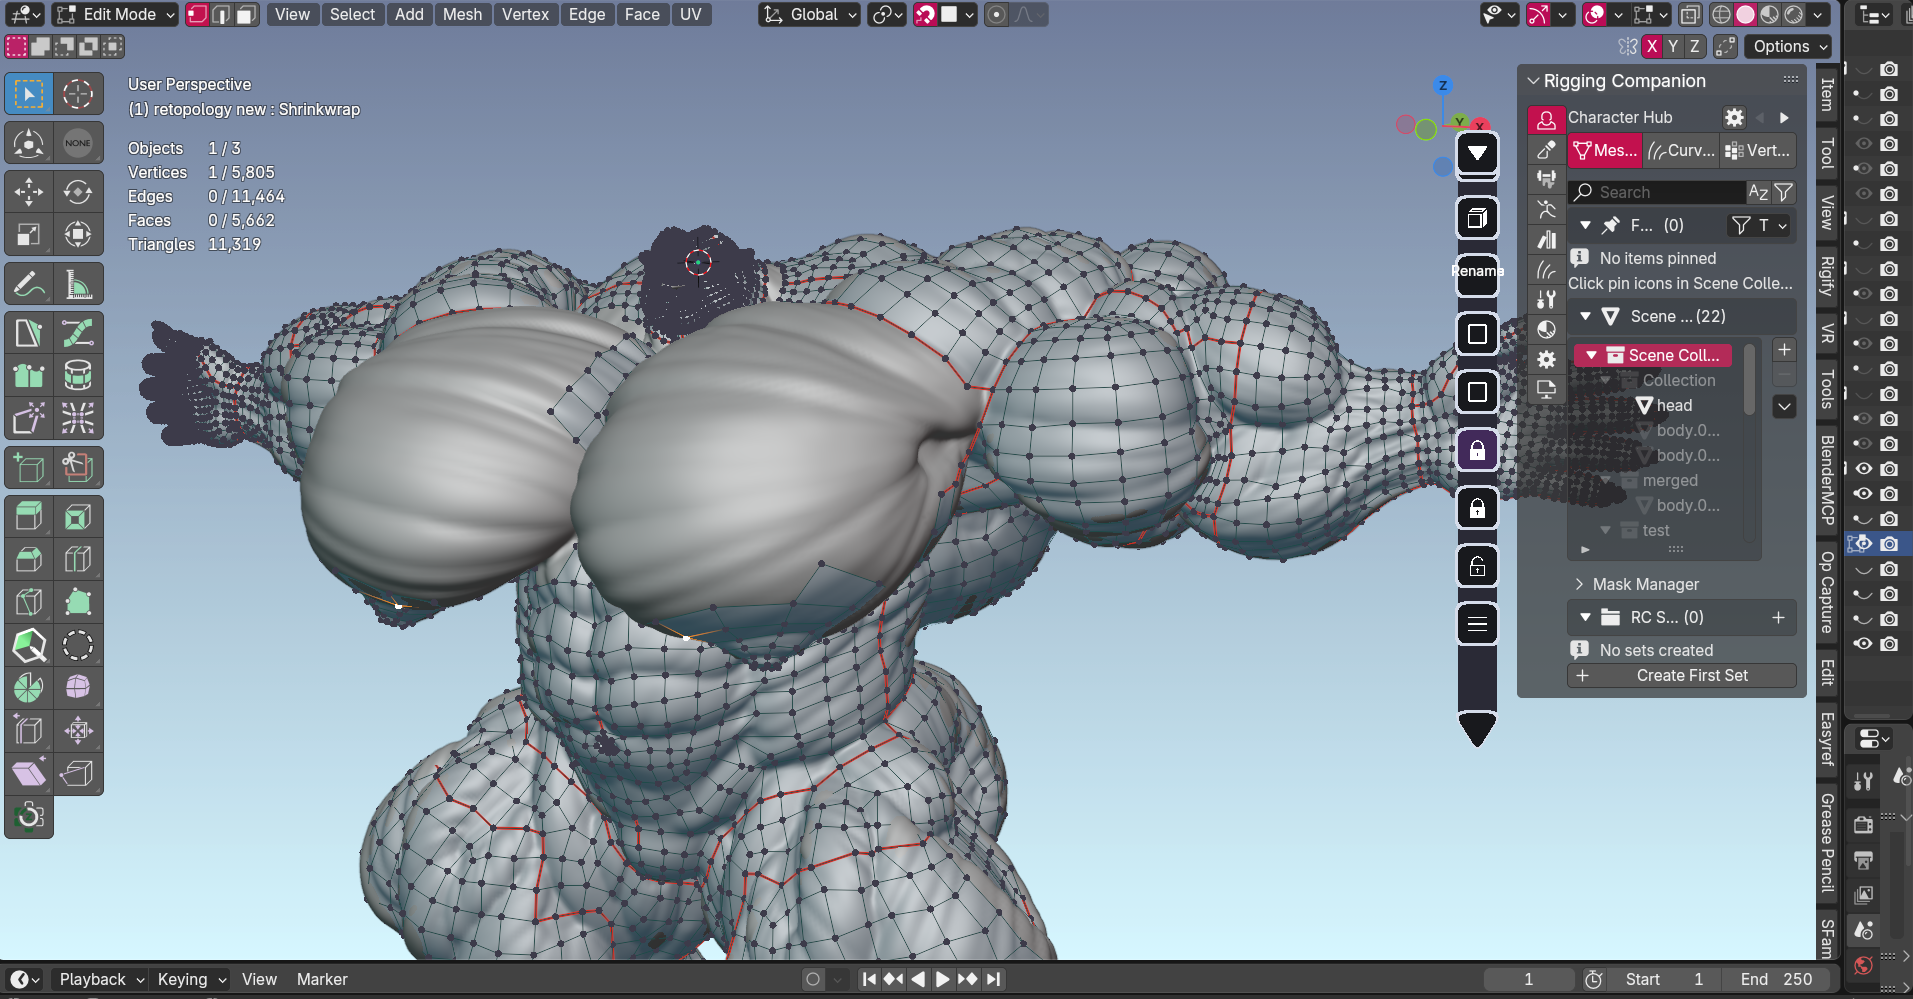
RETOPOLOGY 1 — PREPARING FOR DETAIL WORK
WHAT HAPPENS HERE
I rebuild the surface of your character with a clean mesh structure. This is done on top of the approved blockout to create a smooth foundation for sculpting fine details.
WHY IT MATTERS TO YOU
Think of this as adding more material to work with — like going from rough sketch to clean canvas. This step ensures the detailed sculpting stage produces clean, professional results.
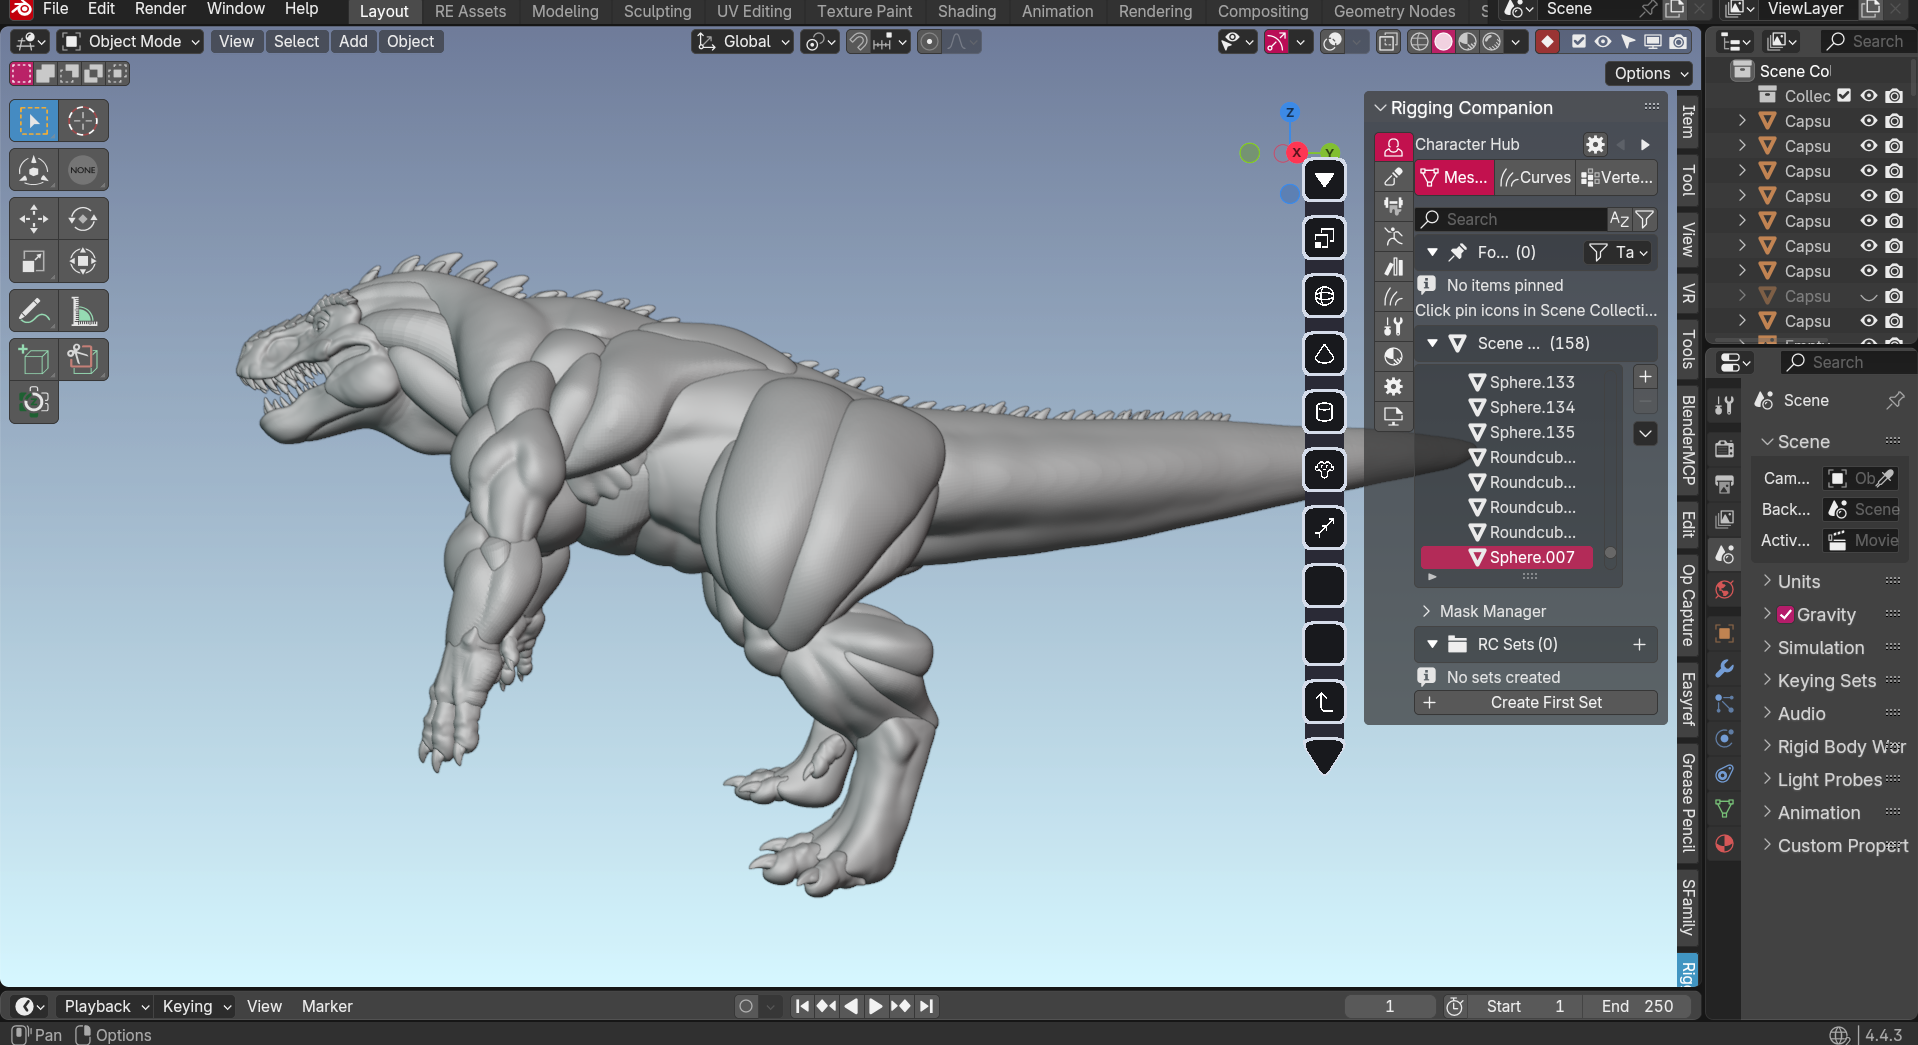
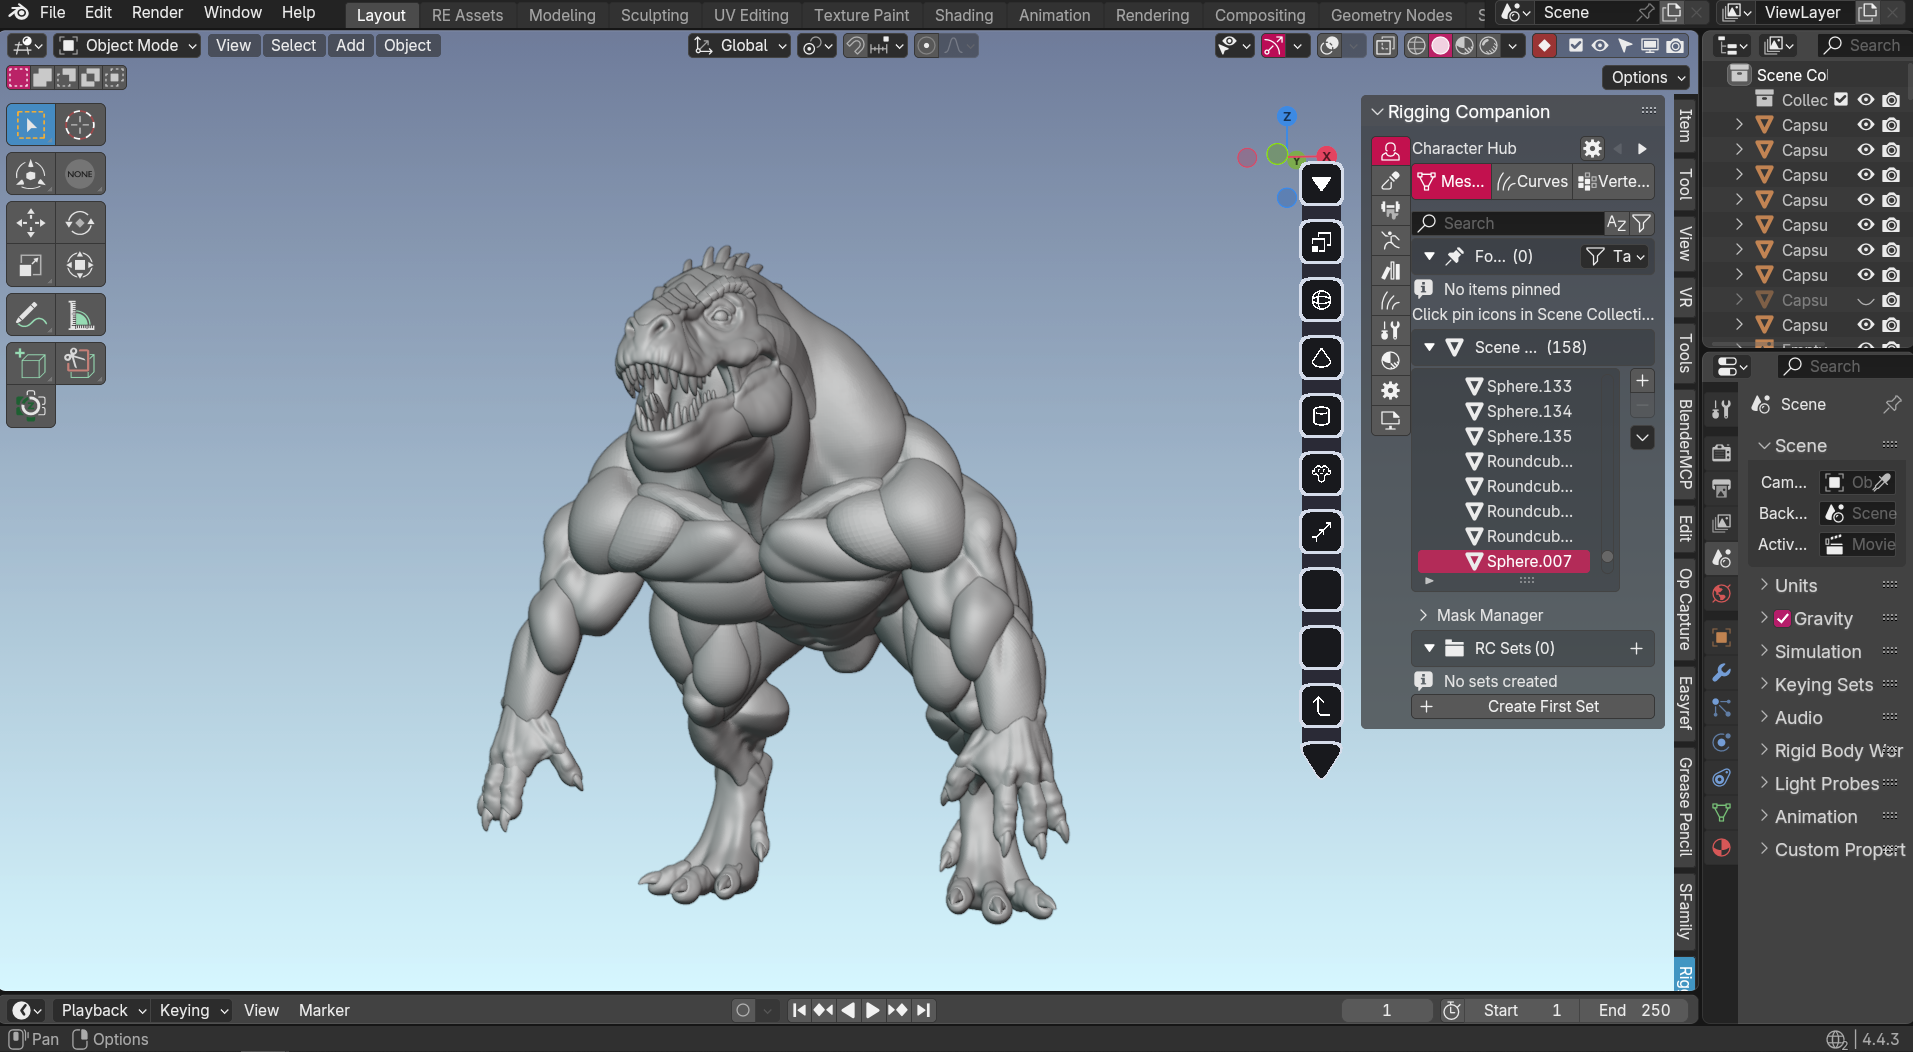
HIGH POLY SCULPT — CREATING EVERY DETAIL
WHAT HAPPENS HERE
This is where your character truly comes to life. I sculpt every detail — muscle definition, skin texture, scales, fur patterns, facial features, everything that makes your character unique.
WHY IT MATTERS TO YOU
This is the artistry stage. The difference between skin and scales, smooth fur and rough hide, defined abs and softer belly — all of it happens here. The complexity of your character's design directly affects how long this stage takes.
COMPLEXITY EXAMPLES
- Standard: Smooth skin with average body fat
- More complex: Muscular character, beards (stylized), hairstyles, tails (stylized)
- Most complex: Hyper shredded anatomy + full body veins, scales
.png)
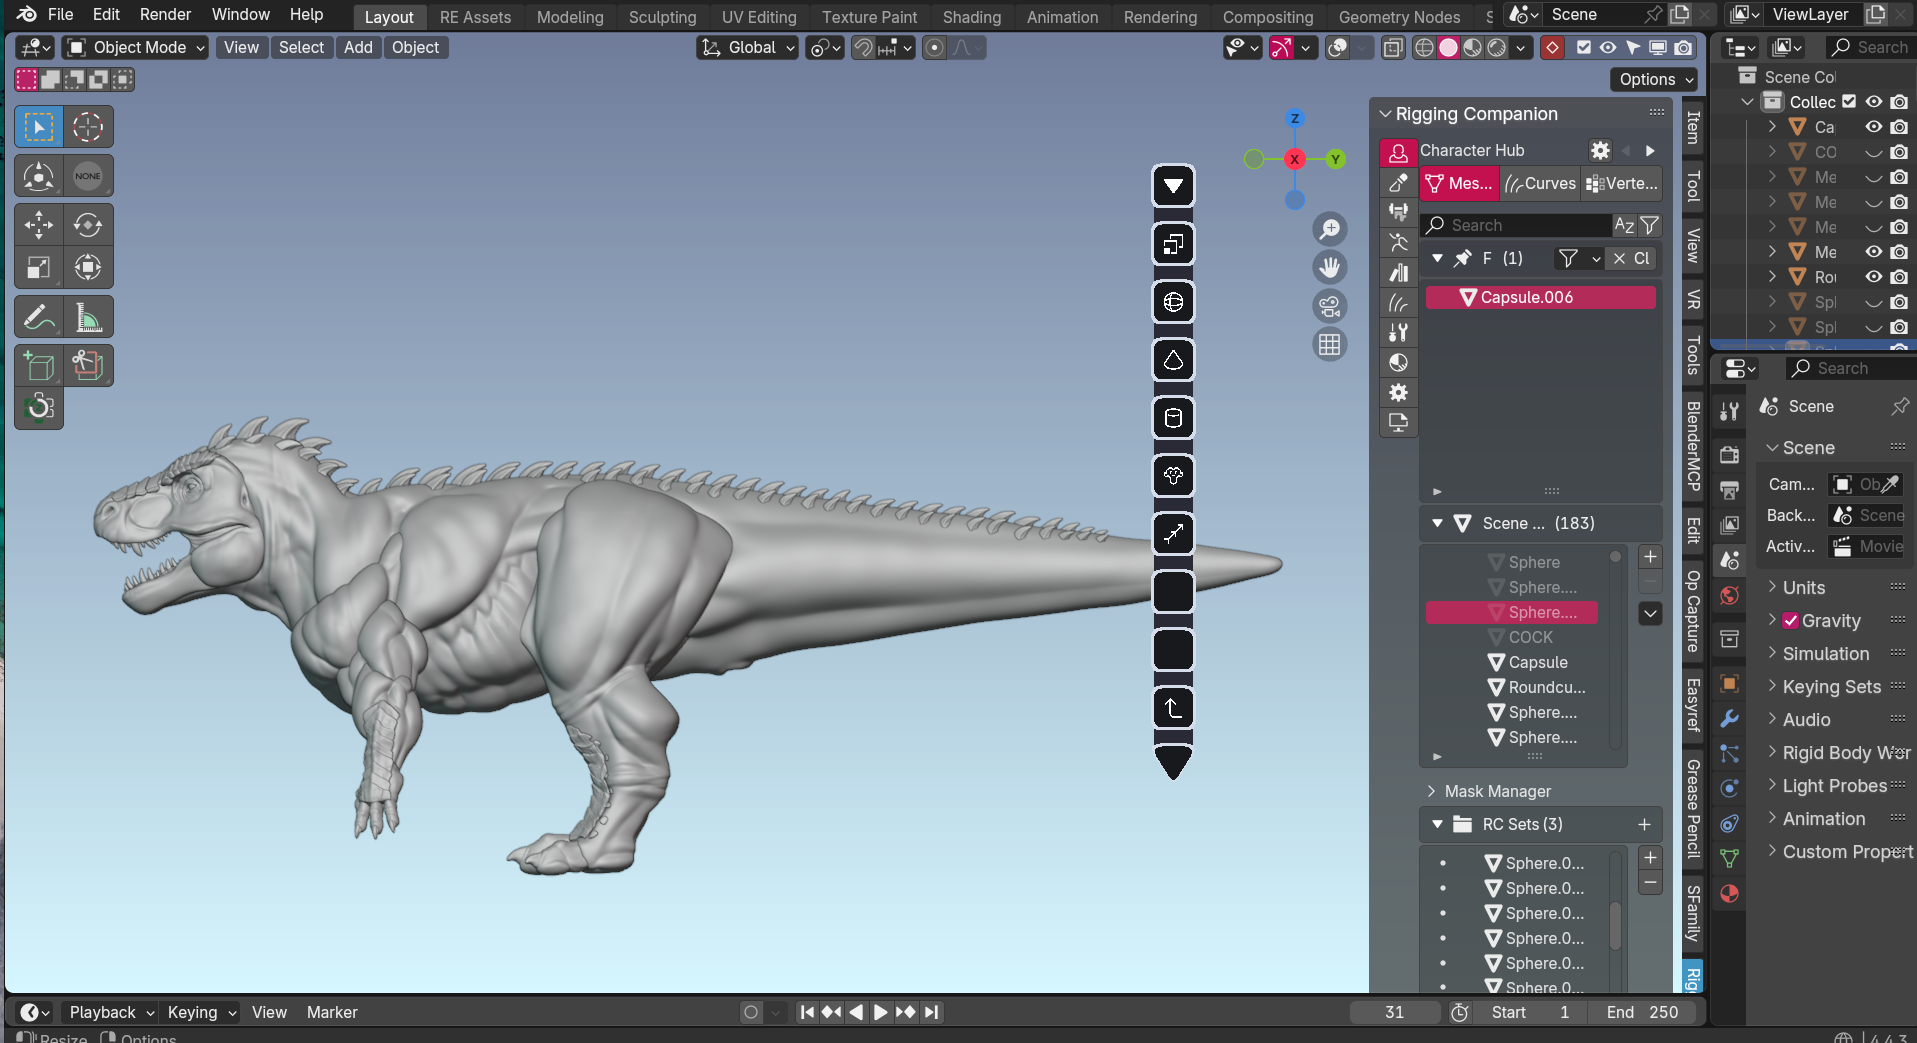
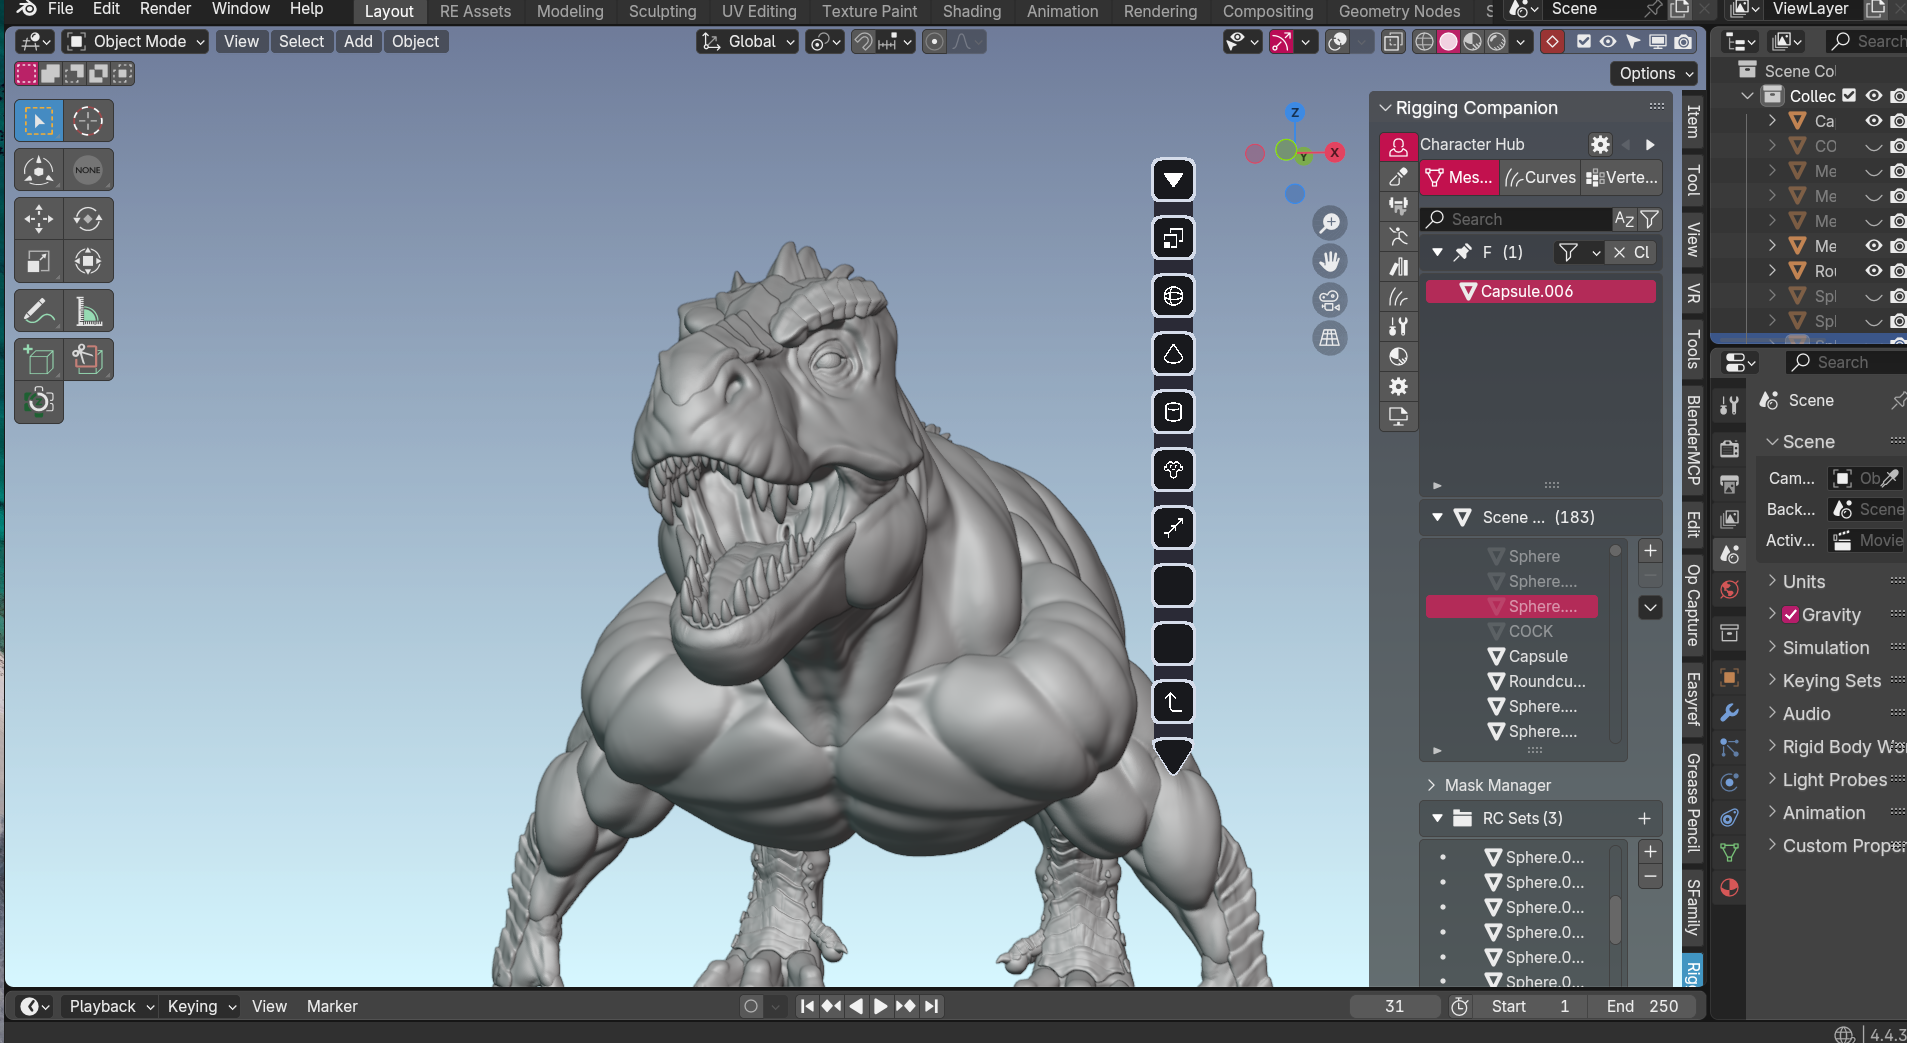
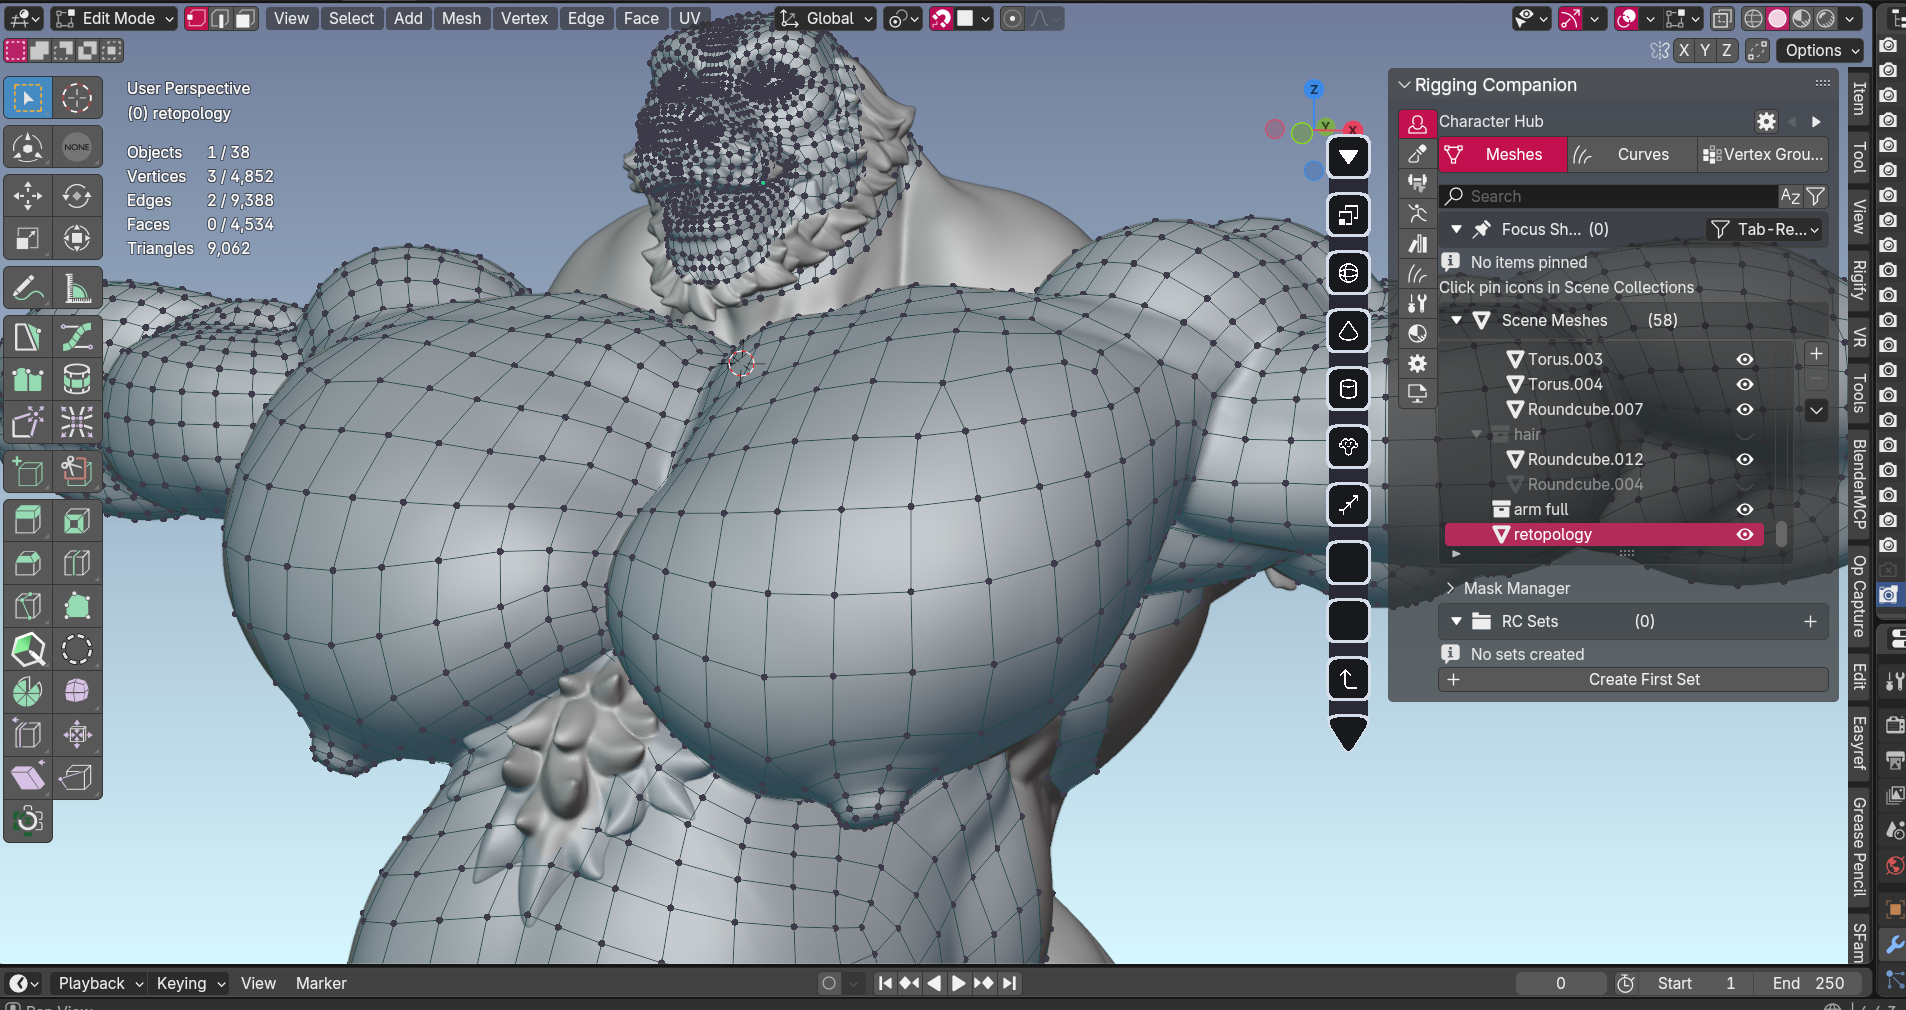
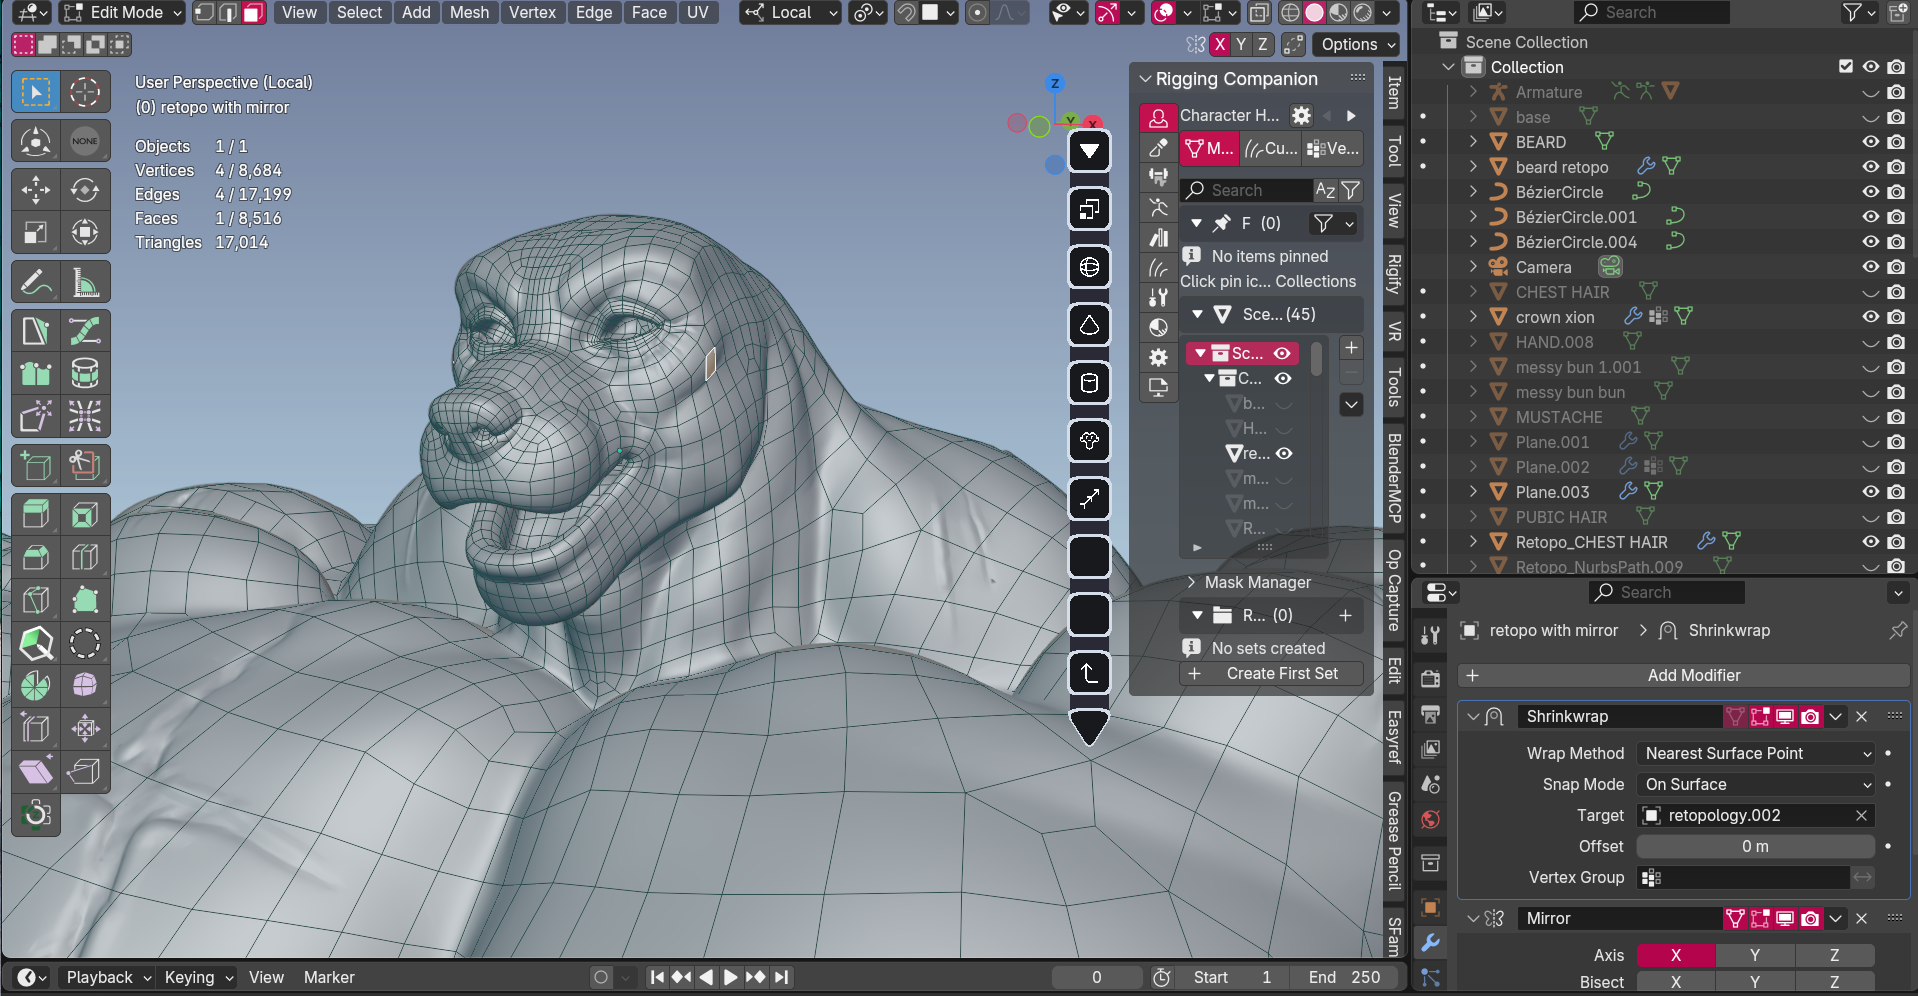
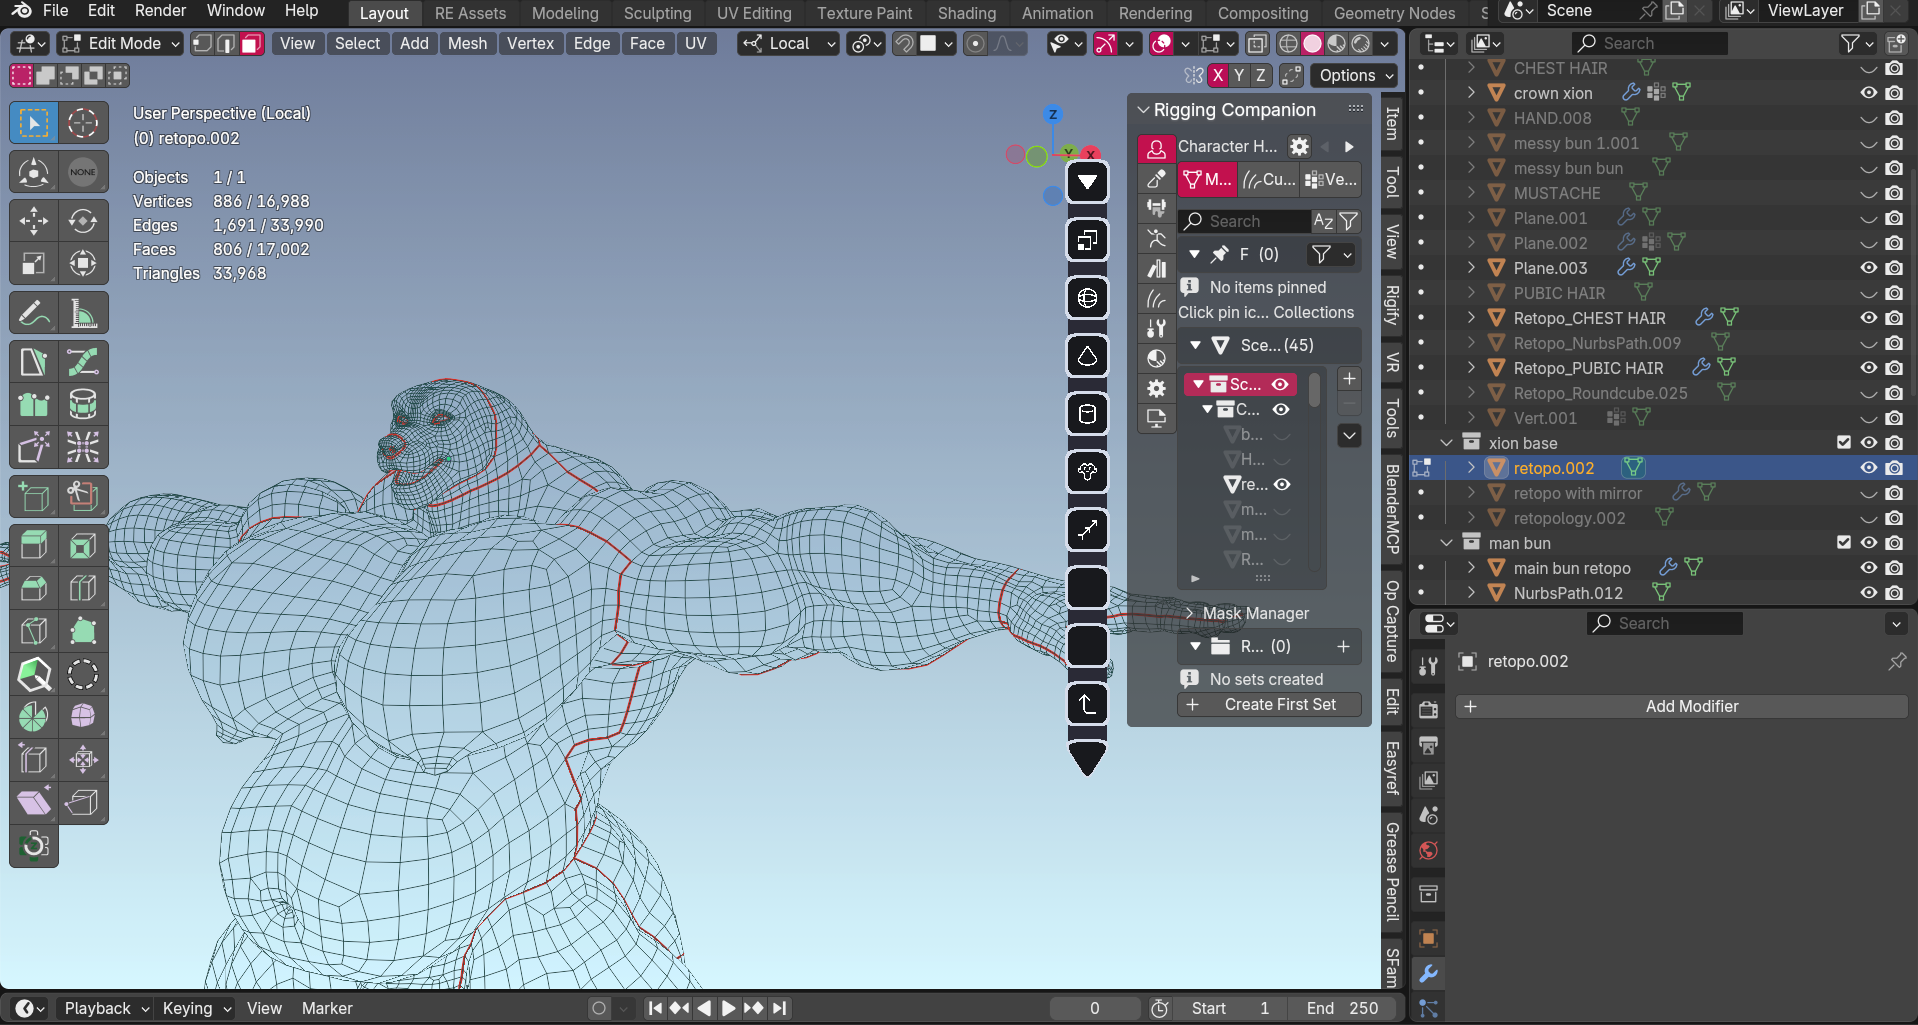
RETOPOLOGY 2 — OPTIMIZING FOR MOVEMENT
WHAT HAPPENS HERE
I create the final mesh structure that will actually be used in your character. This determines how well your character bends, flexes, and deforms when posed or animated.
WHY IT MATTERS TO YOU
Proper topology is what separates characters that move naturally from ones that look broken when posed. This step ensures shoulders don't collapse, elbows bend smoothly, and muscles flex correctly.
VRCHAT / GAME TOPOLOGY
Optimized for performance. Uses triangles deliberately for best results in game engines. Lower polygon count for smooth performance.
BLENDER / ANIMATION TOPOLOGY
Quad-based mesh for superior deformation. Higher polygon count allows for more natural movement and complex poses.

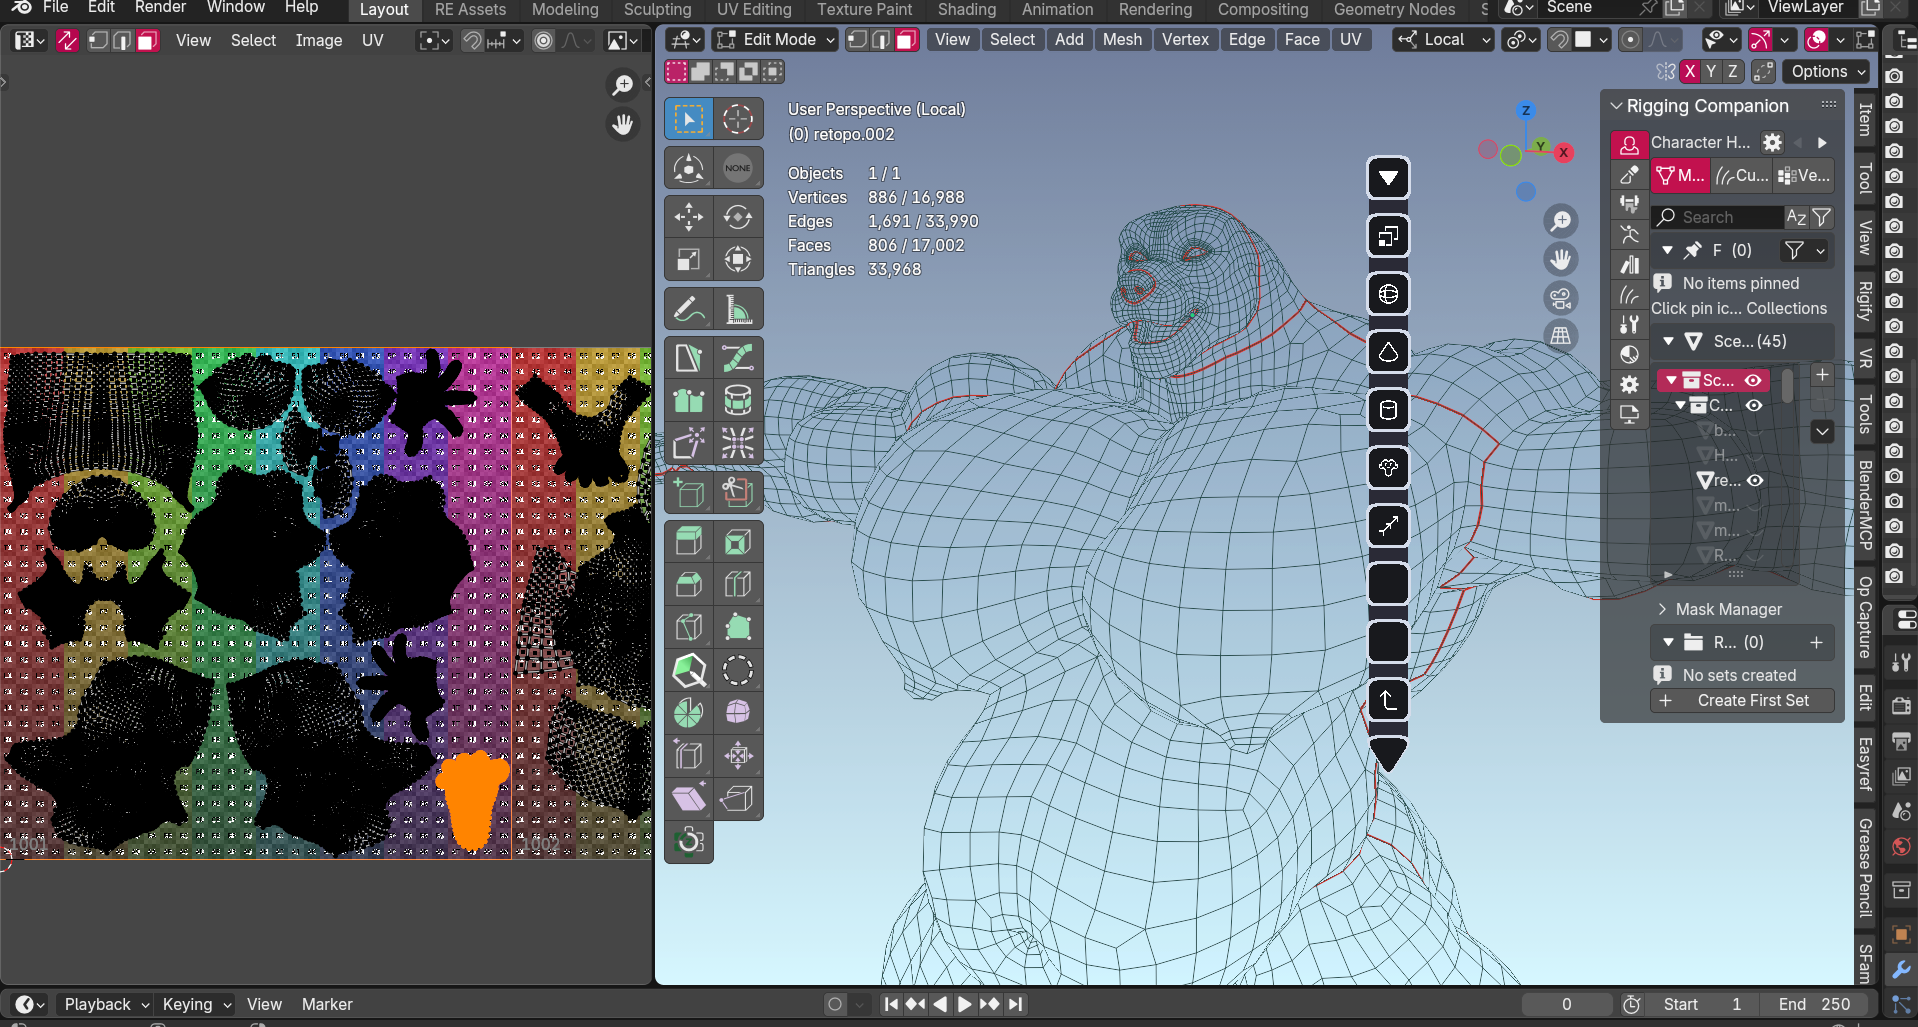
UV MAPPING — PREPARING FOR TEXTURES
WHAT HAPPENS HERE
I unwrap your 3D character into a flat 2D layout. Think of it like cutting apart a cardboard box and laying it flat — this creates the template for painting textures onto your character.
WHY IT MATTERS TO YOU
Good UV mapping means textures look clean and seamless. Bad UV mapping creates visible seams, stretched textures, and distorted details. This step is invisible when done right, but ruins a character when done wrong.
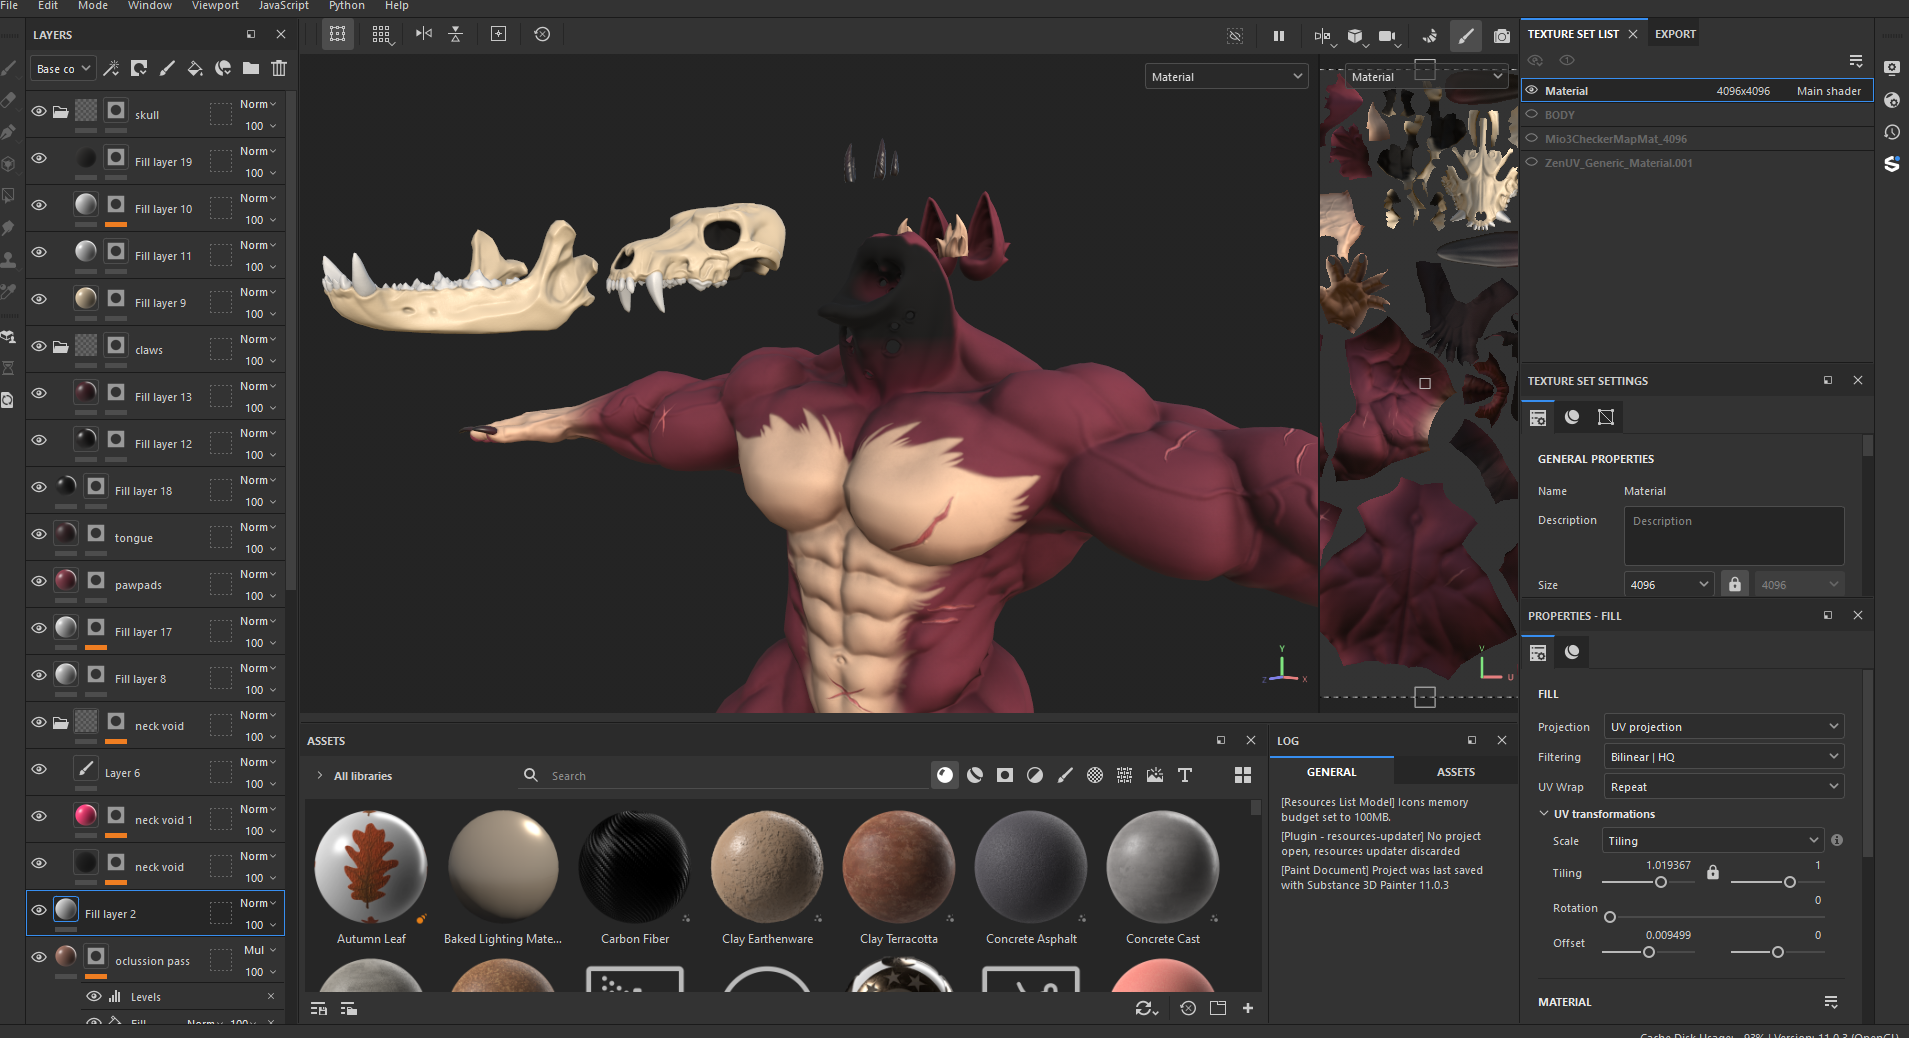
TEXTURING — ADDING COLOR AND SURFACE DETAIL
WHAT HAPPENS HERE
I paint your character's textures using Substance Painter, Blender, and Photoshop. This includes base colors, patterns, markings, skin detail, roughness (how shiny/matte surfaces are), and more.
WHY IT MATTERS TO YOU
Textures bring your character from gray clay to fully realized design. This is where your character gets their fur pattern, scale colors, tattoos, scars, and all the surface details that make them yours.
WHAT'S INCLUDED
- Base color maps (your character's colors and patterns)
- Normal maps (adds surface detail like pores, scales)
- Roughness maps (controls shine and matte areas)
- Additional maps as needed (subsurface, emission, etc.)
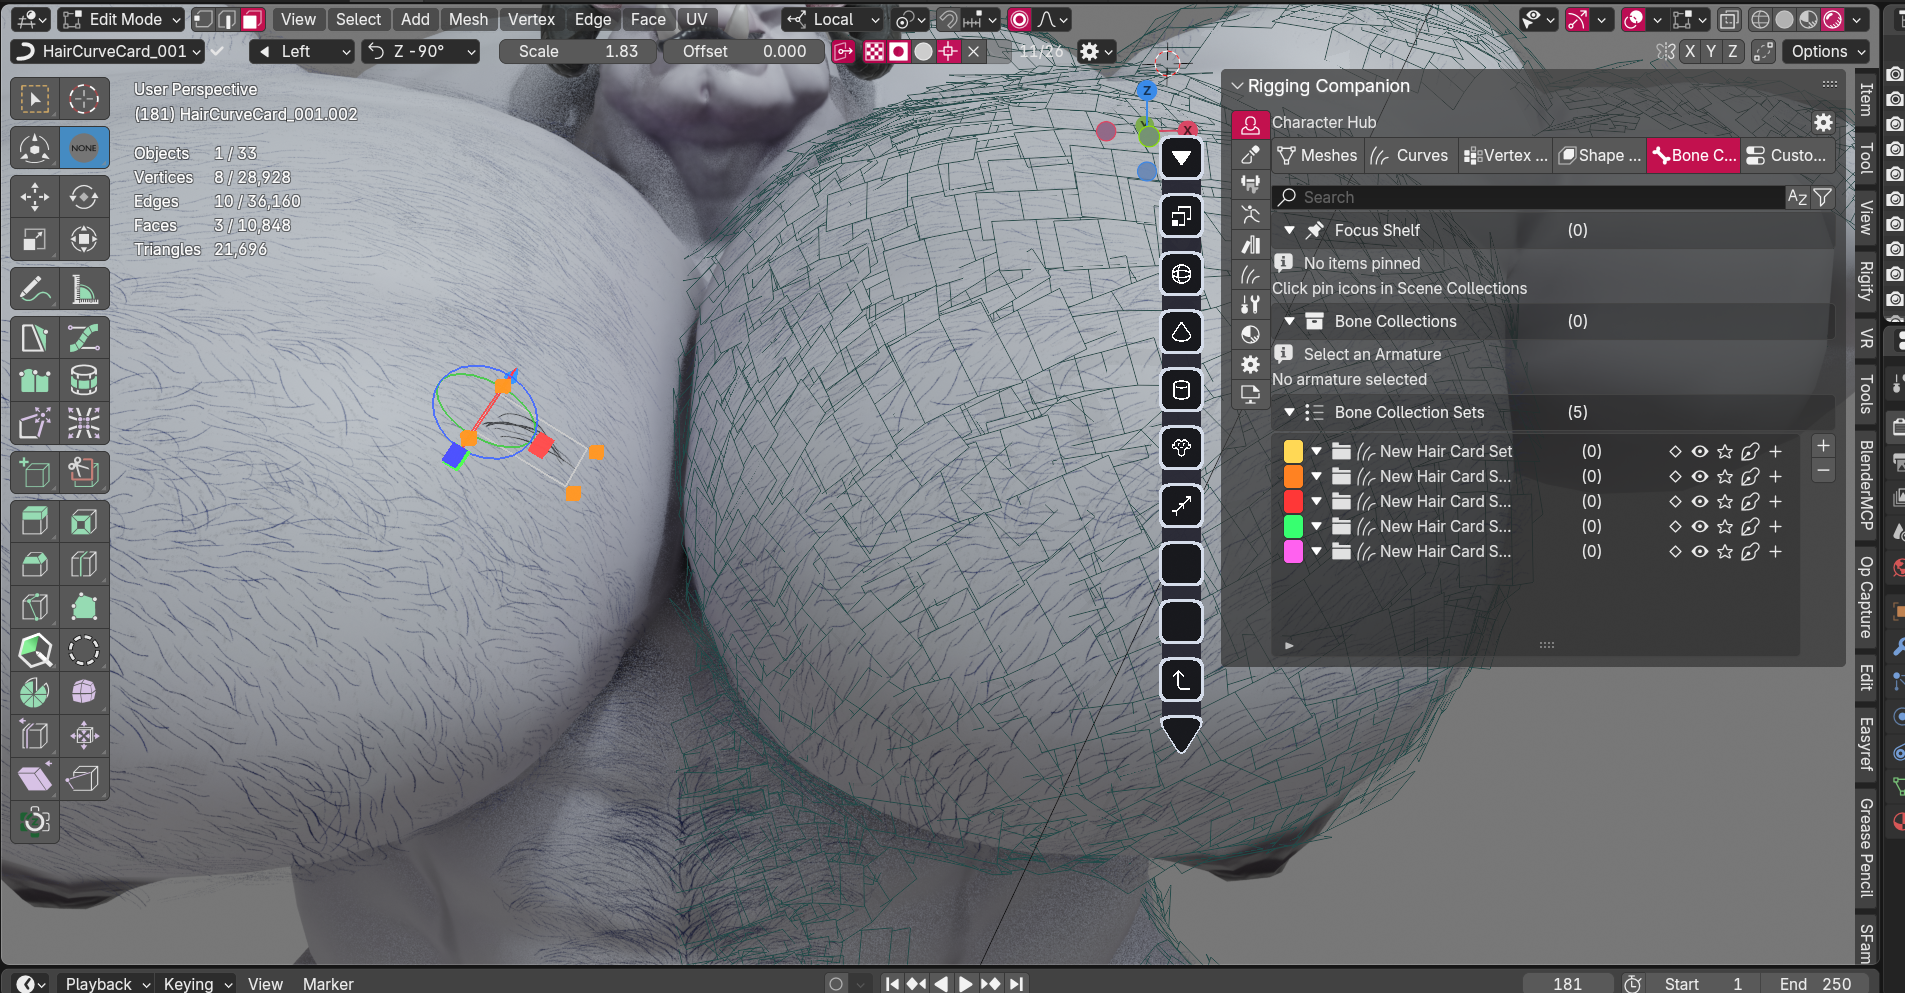
GROOMING — HAIR AND FUR SYSTEMS
WHAT HAPPENS HERE
For characters that need actual hair or fur (not just textures), I create particle systems, hair cards, or groomed strands. This could be head hair, body hair, fur, feathers, or other strand-based elements.
WHY IT MATTERS TO YOU
Real hair systems move, flow, and react to physics. They add life and realism that flat textures can't match. However, they add complexity and aren't always needed — we'll discuss whether your character needs this.
VRCHAT / GAME HAIR
Uses hair cards (textured planes) for performance. Optimized for real-time rendering with physics.
BLENDER ANIMATION HAIR
Can use full particle systems for maximum realism. Higher quality, more control over styling and simulation.
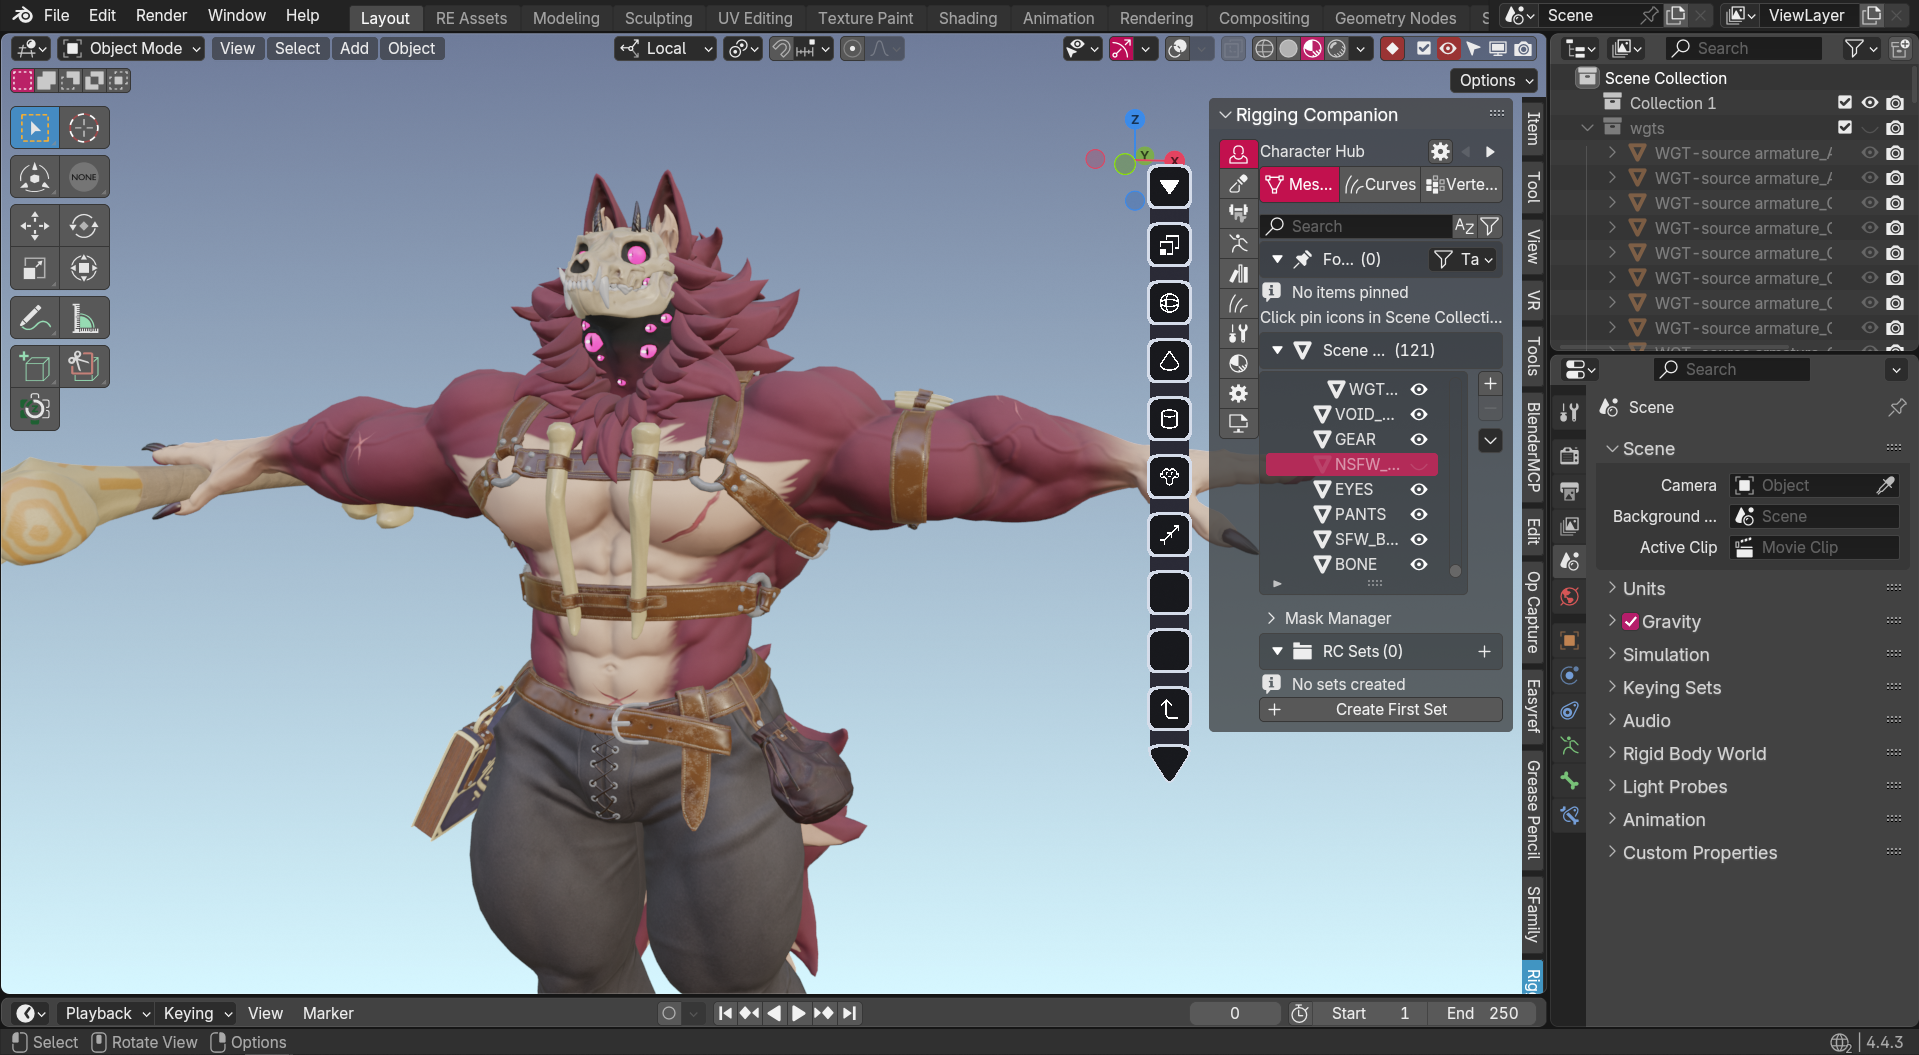
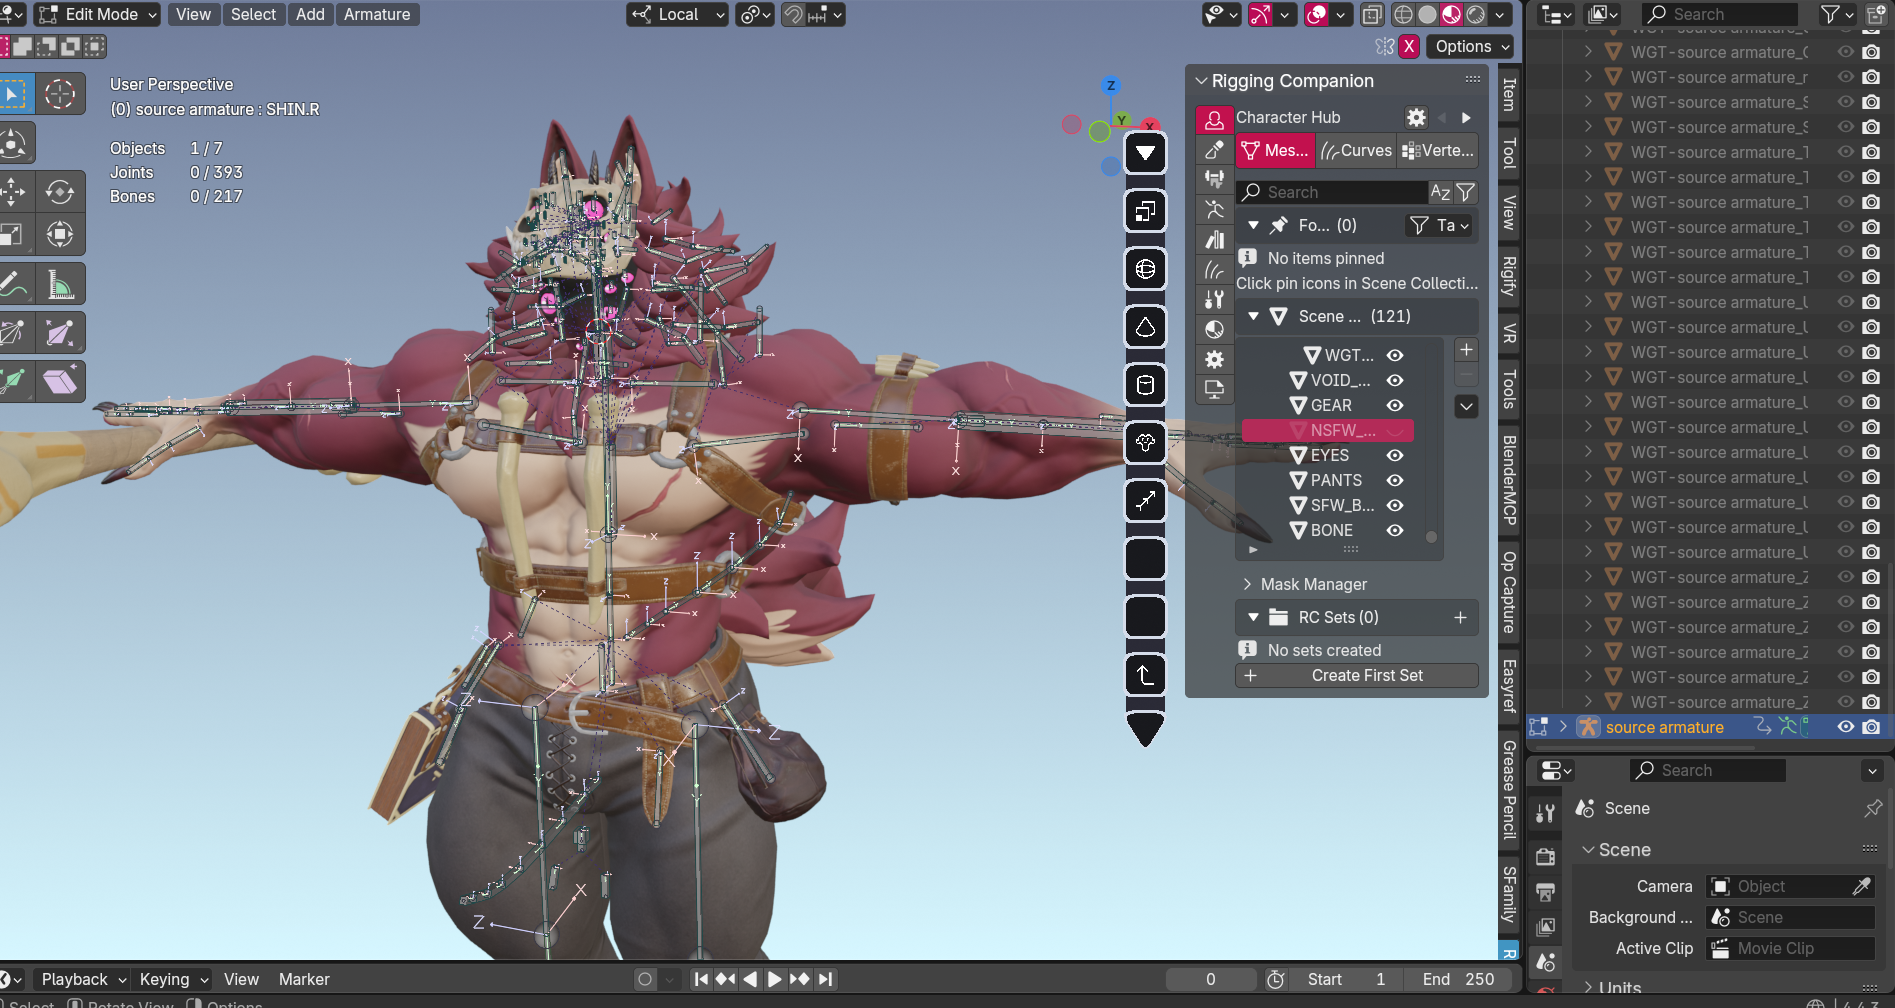
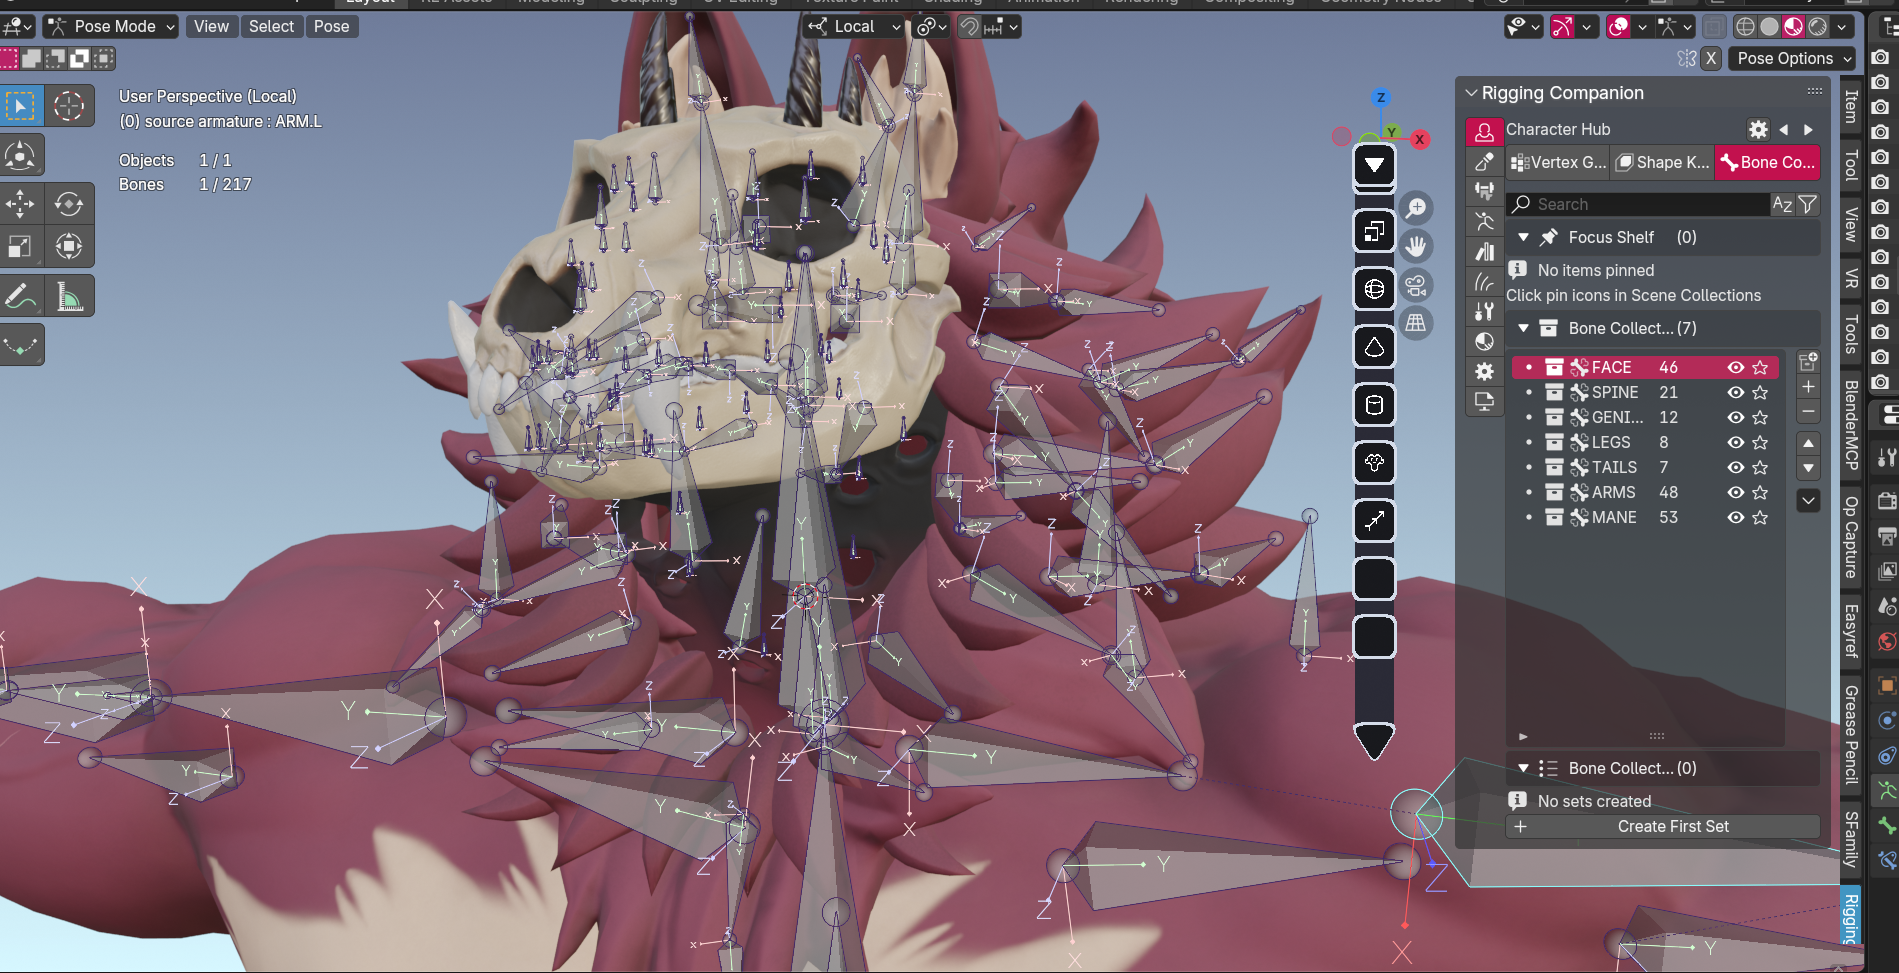
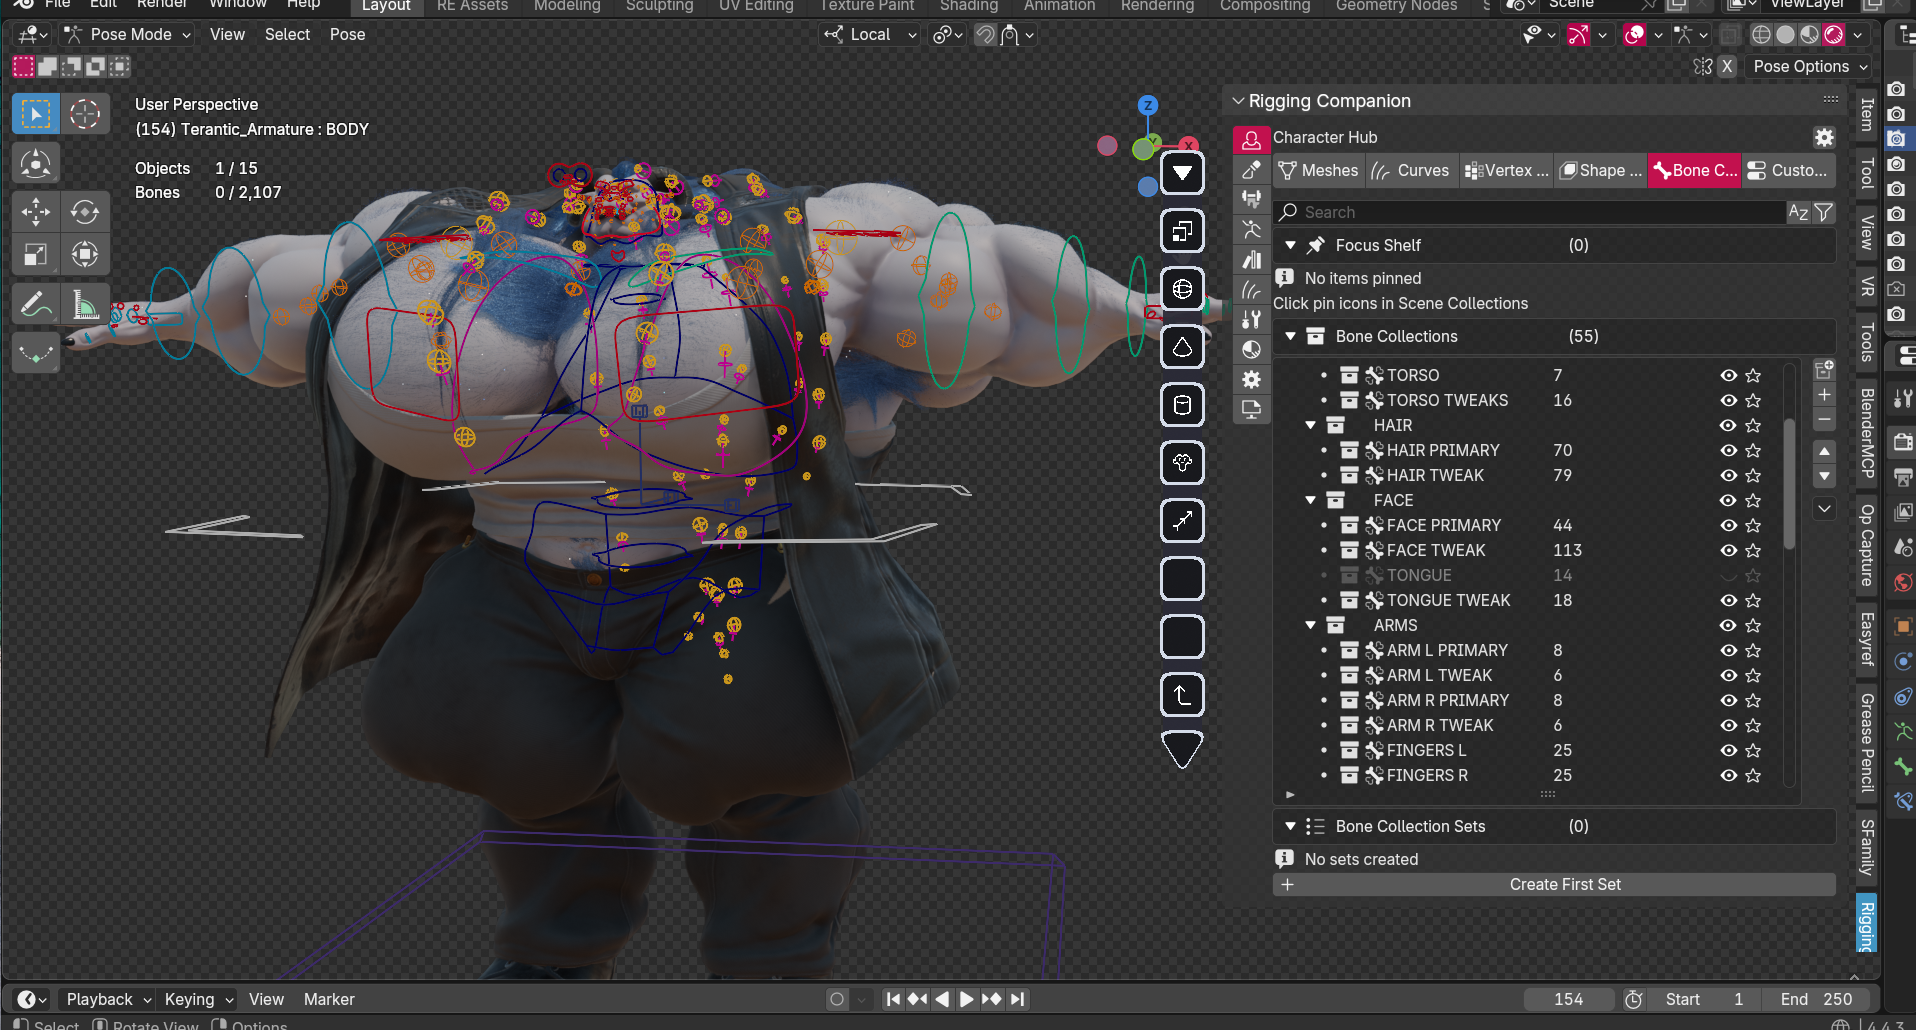
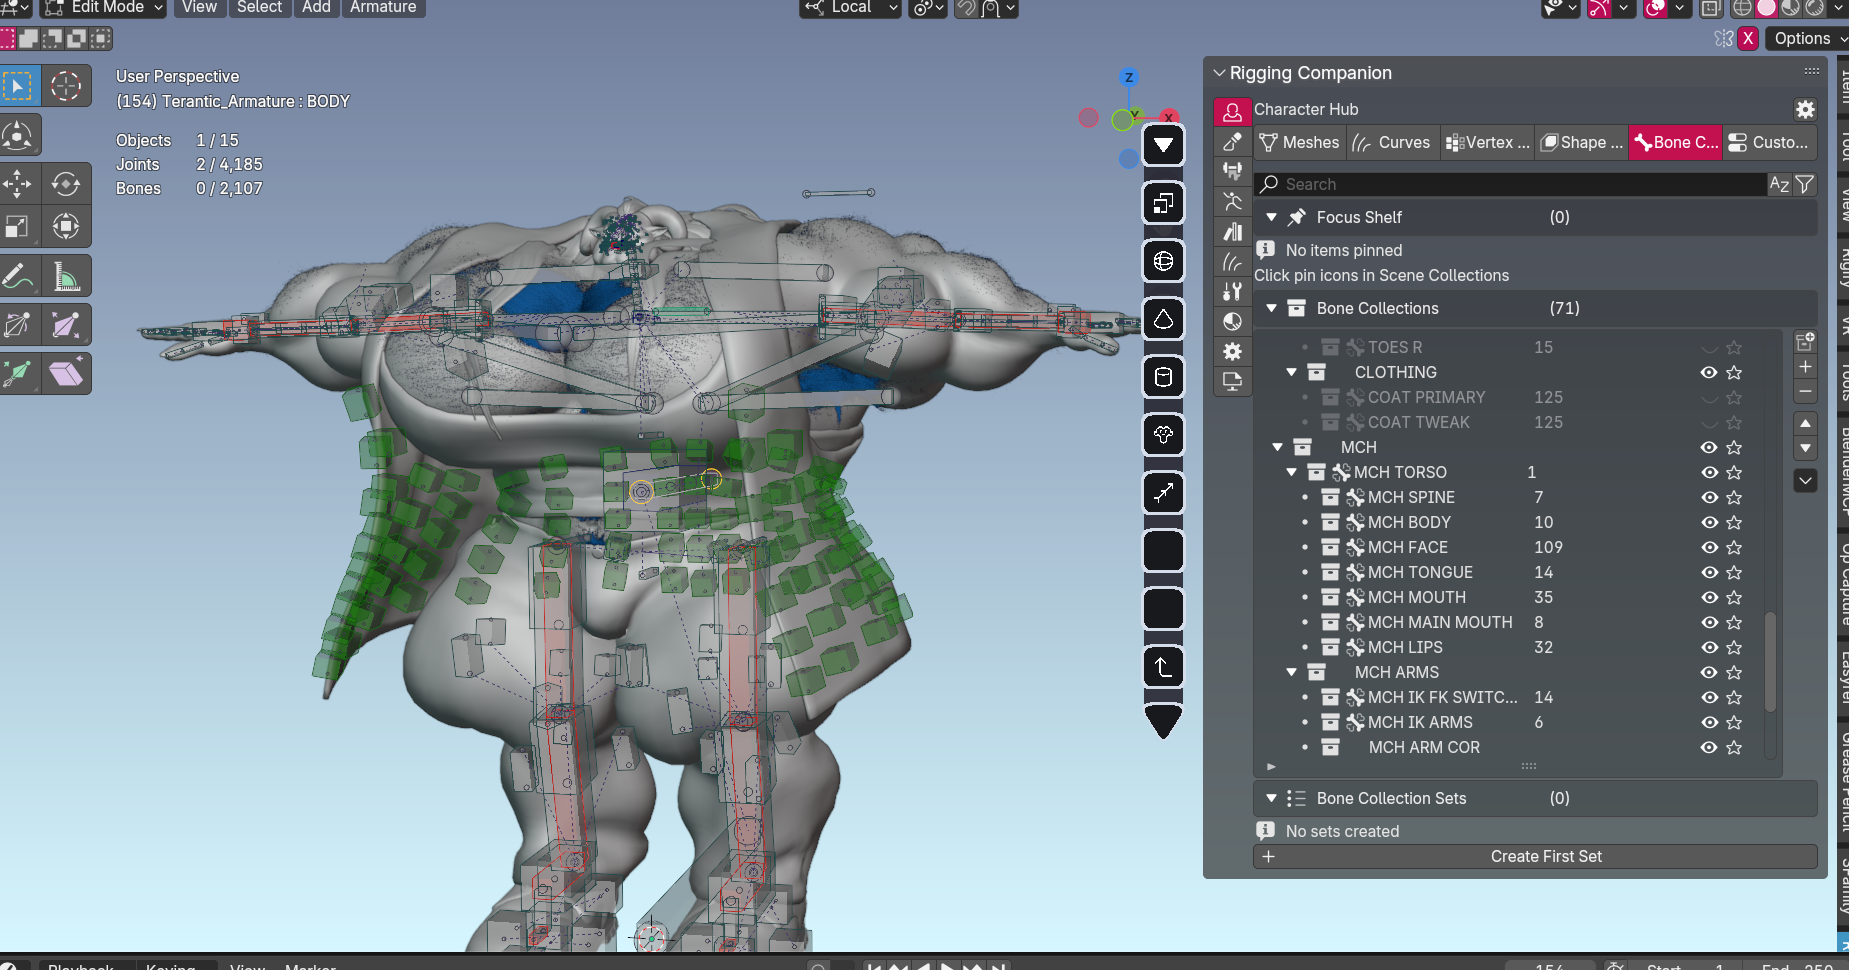
RIGGING — BRINGING YOUR CHARACTER TO LIFE
WHAT HAPPENS HERE
I build a custom skeleton inside your character by hand. This is what allows your character to move, pose, and animate.
WHY IT MATTERS TO YOU
Hand-rigged characters move naturally and can do things auto-rigs can't. Need your character to flex specific muscles? Perform complex poses? Custom facial expressions? Hand-rigging makes it possible.
VRCHAT RIG
Optimized for performance with fewer bones. Game-ready, follows VRChat's humanoid requirements while maintaining quality deformation.
BLENDER ANIMATION RIG
More bones and controls for smoother movement. Includes facial rig, IK/FK switching, muscle flex systems, and custom controls.
DEFORMATION BONES
These are the core bones that actually move your character — spine, arms, legs, fingers, tail, etc. VRChat rigs use fewer bones for performance. Animation rigs use more joints for better bending and natural movement.
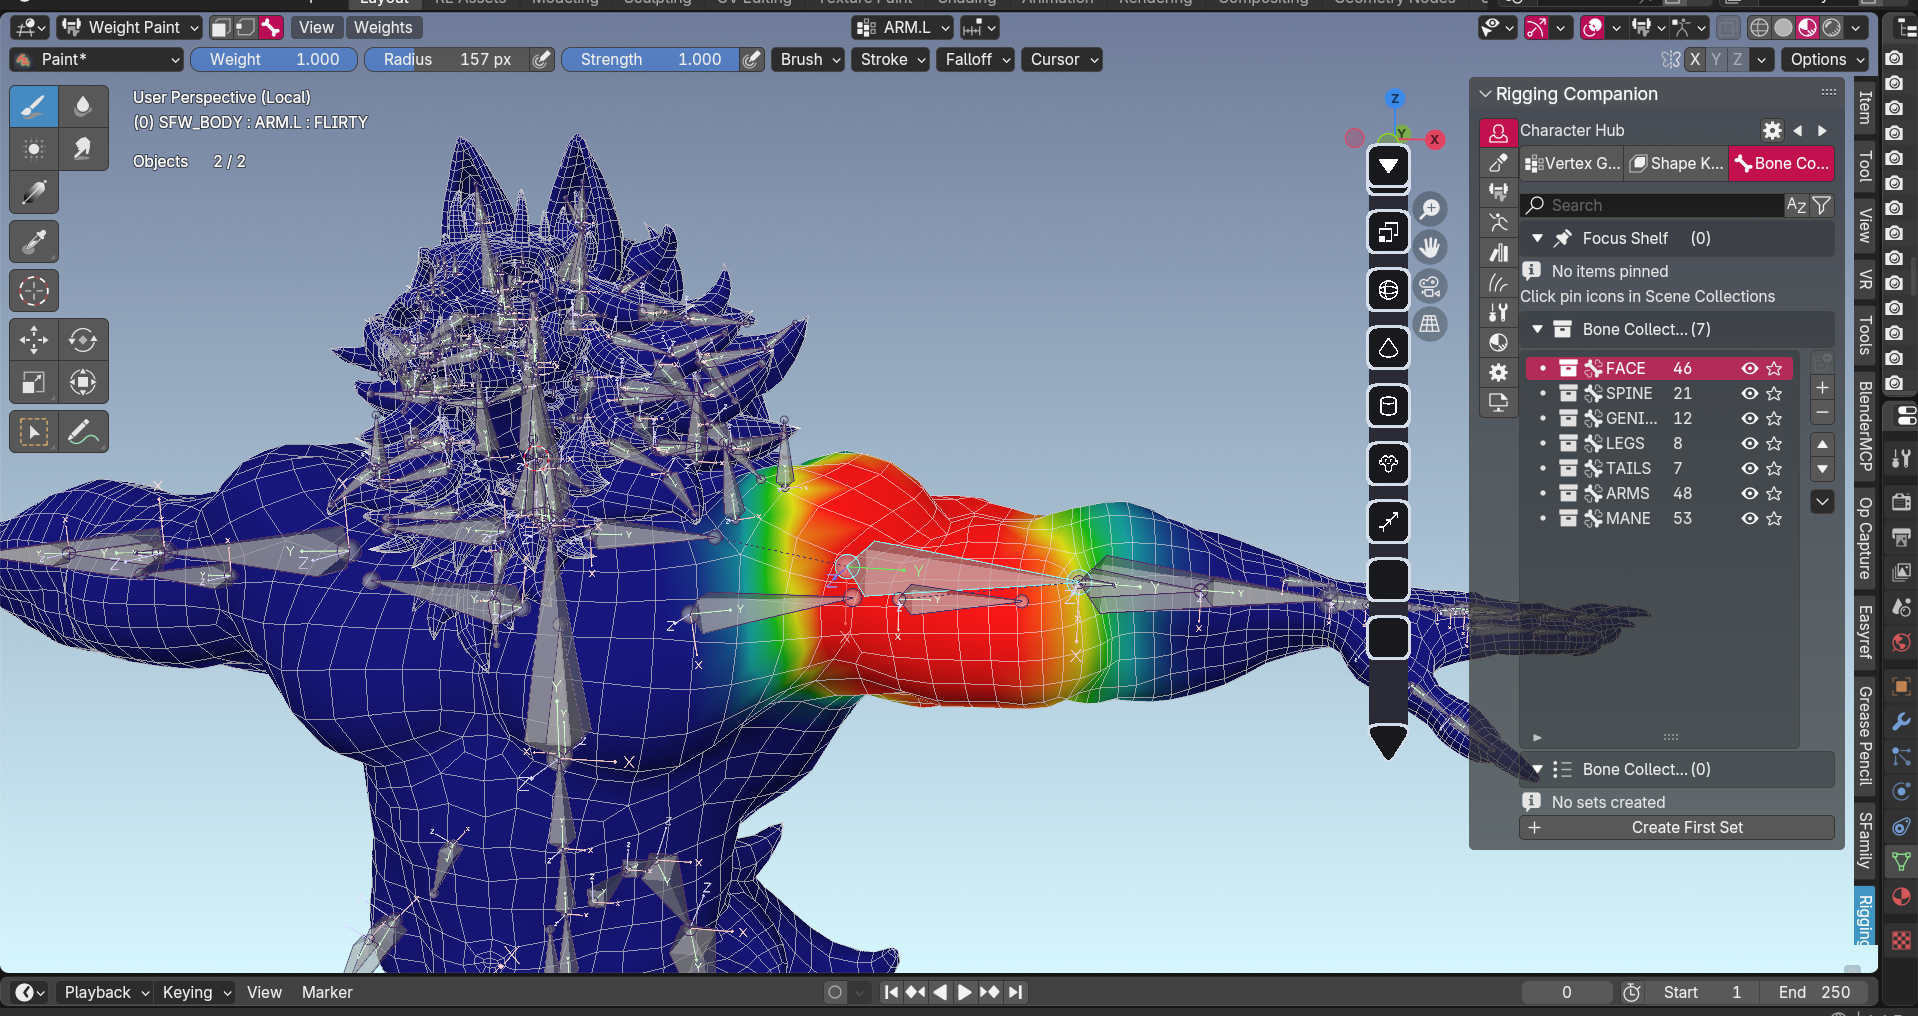
WEIGHT PAINTING
I manually paint how much each bone affects each part of the mesh. This is what makes shoulders deform correctly, prevents the elbow from collapsing, and ensures muscles flex naturally. Done by hand for precision control.
ANIMATION RIG (BLENDER ONLY)
For animation commissions, I create a full control rig on top of the deformation bones. This includes IK/FK switches, facial controls, muscle flexing systems, and anything else you need to animate your character efficiently.
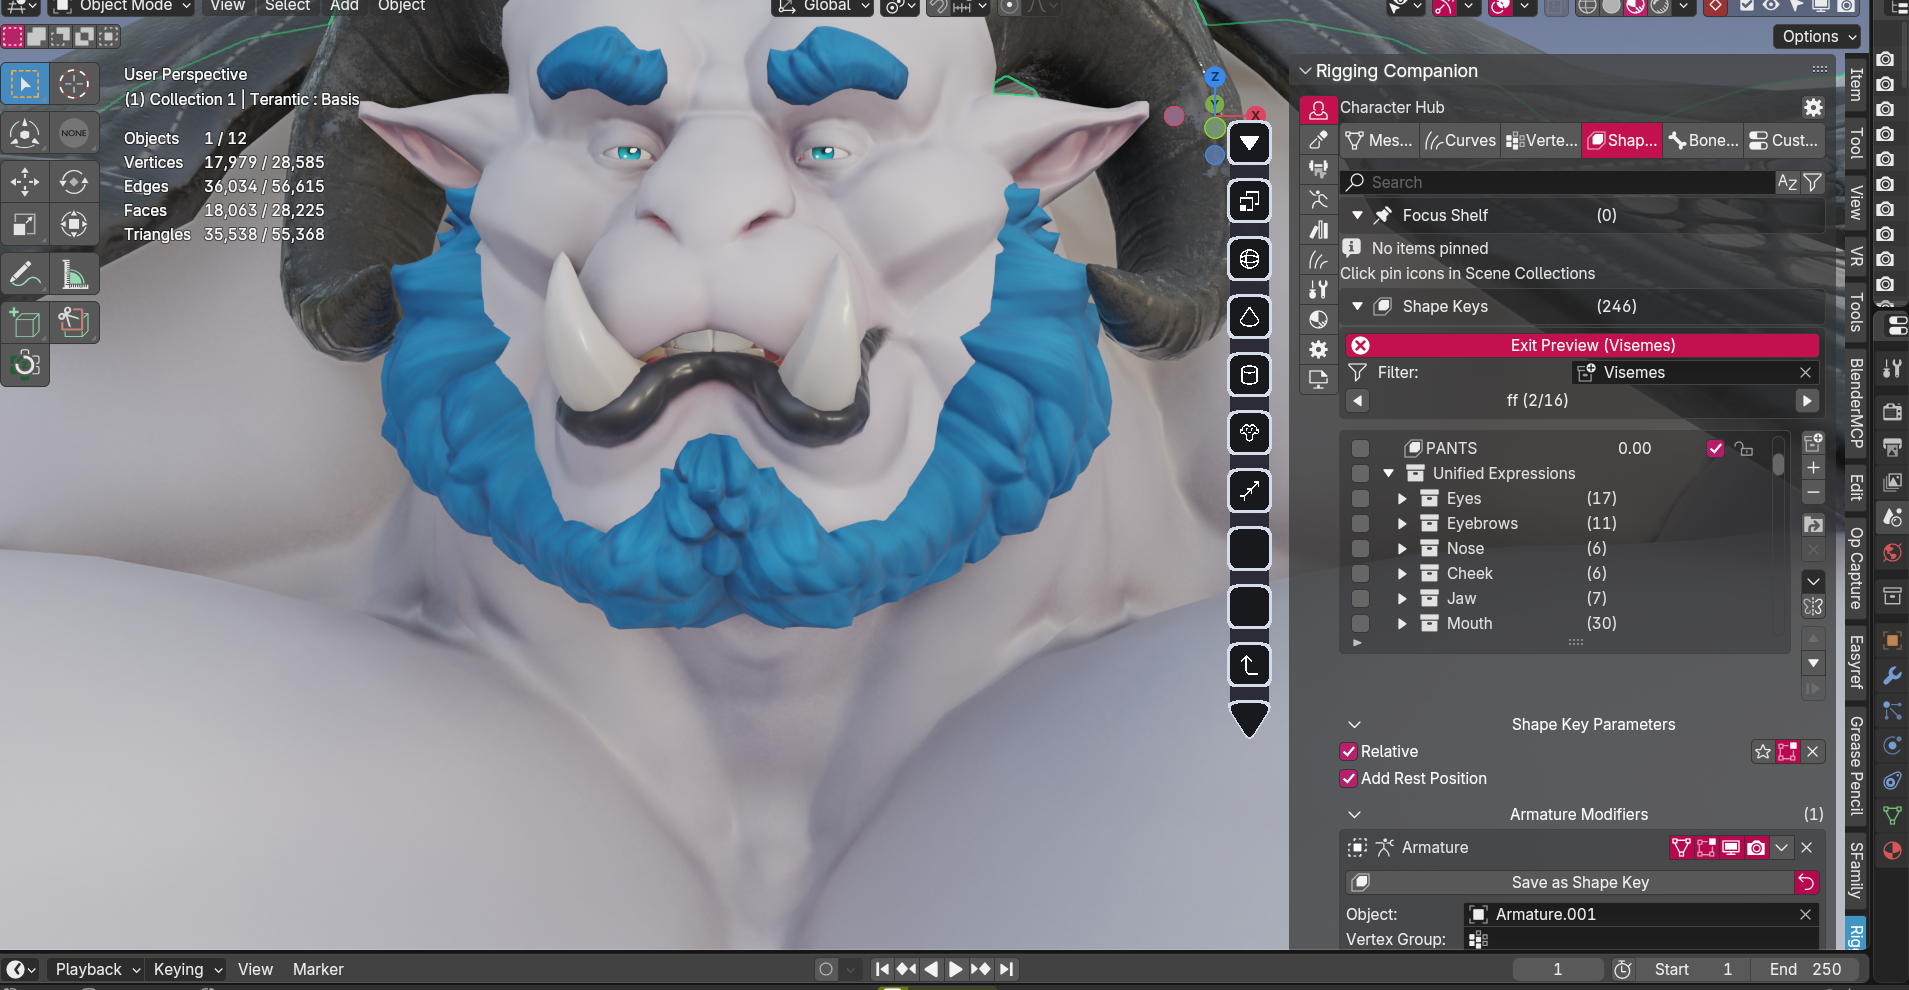
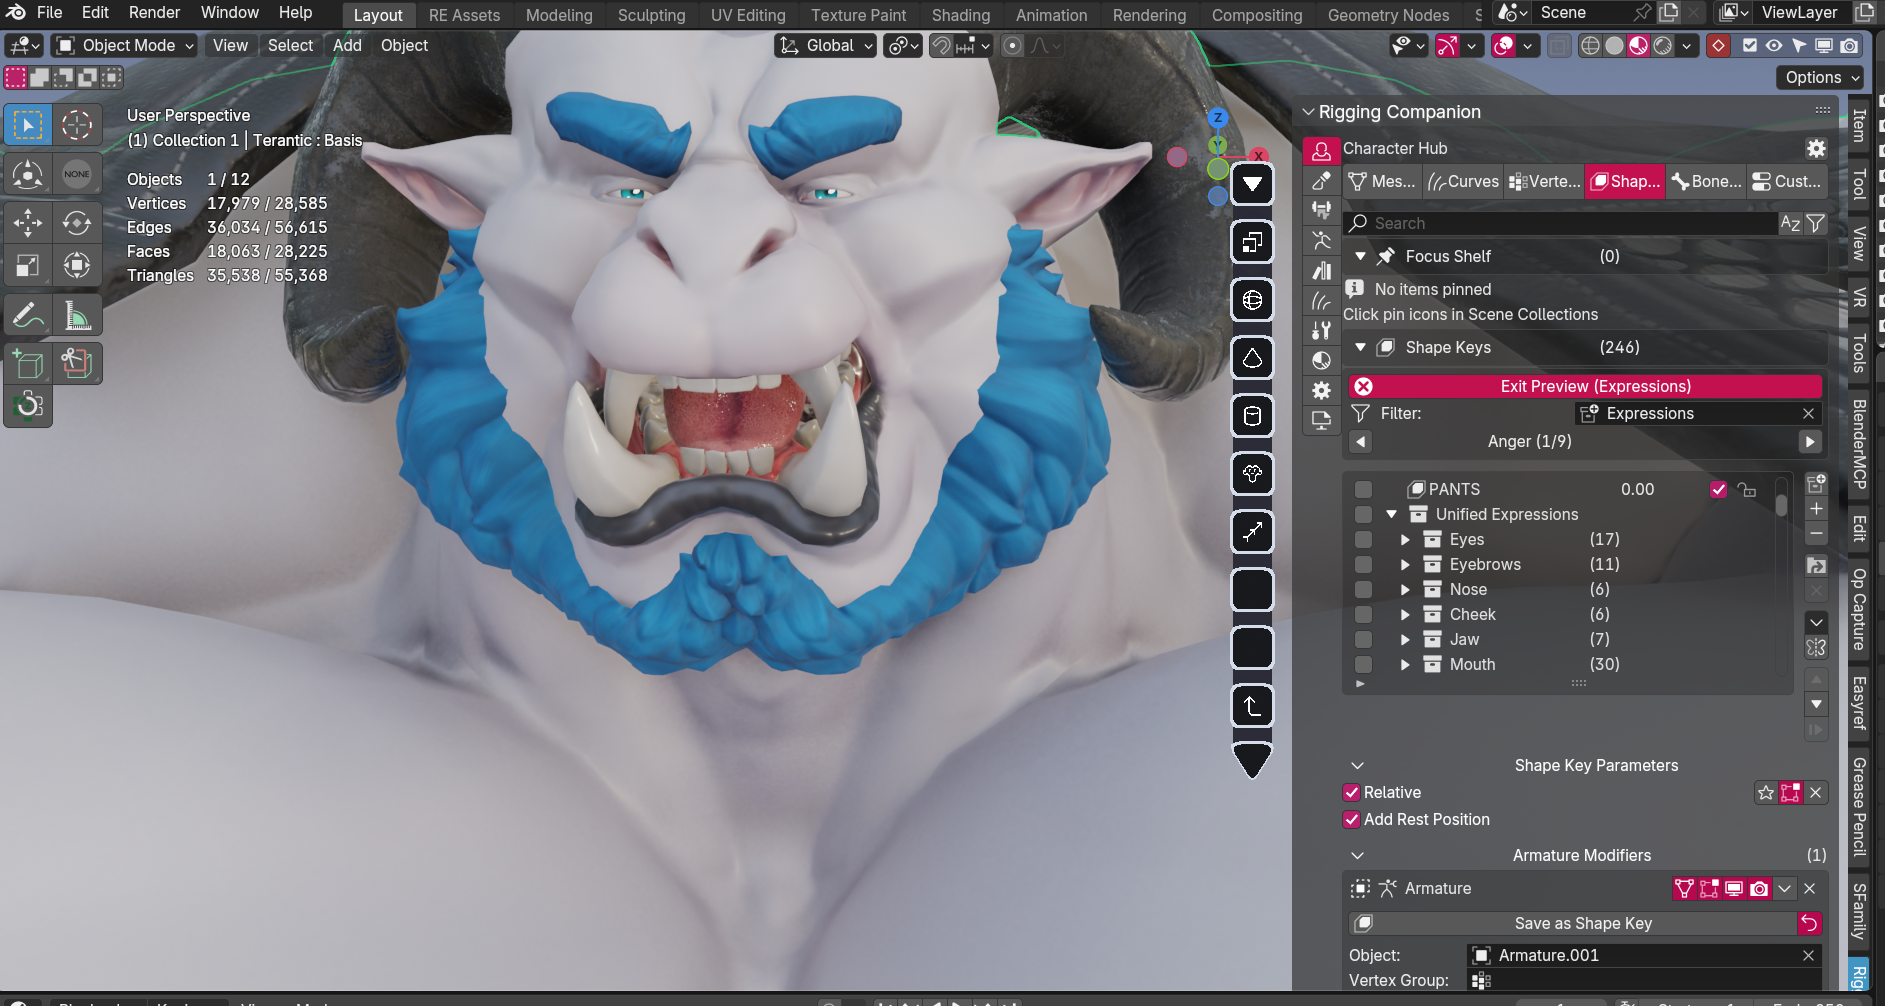
BLENDSHAPES — EXPRESSIONS AND CORRECTIVES
WHAT HAPPENS HERE
I create shape keys (blendshapes) that morph your character's mesh. These are used for facial expressions, corrective deformations, and special effects.
WHY IT MATTERS TO YOU
Blendshapes make your character emotive and fix problem areas. They prevent shoulders from collapsing during extreme poses, enable facial tracking in VRChat, and allow your character to smile, frown, and express emotion.
COMMON USES
- VRChat: Visemes (mouth shapes for speech), universal expressions (face tracking), custom expressions
- Blender Animation: Facial animation controls, corrective shapes, special effects (muscle flex, body morphs)
RIG UI — CUSTOM CONTROL PANEL
WHAT HAPPENS HERE
I create a custom user interface panel in Blender specifically for your character. This gives you one-click access to common functions without hunting through menus.
WHY IT MATTERS TO YOU
The Rig UI makes your character easier to use. Toggle outfit visibility, switch between muscle states, show/hide bones, control facial expressions — all from one organized panel built specifically for your character's unique features.
CUSTOM FEATURES MAY INCLUDE
- Outfit toggles (switch between clothing options)
- Muscle state controls (relaxed, flexed, hyper)
- Bone visibility toggles (clean up viewport)
- IK/FK switching (easier posing)
- Expression presets (quick facial expressions)
- Any other controls specific to your commission

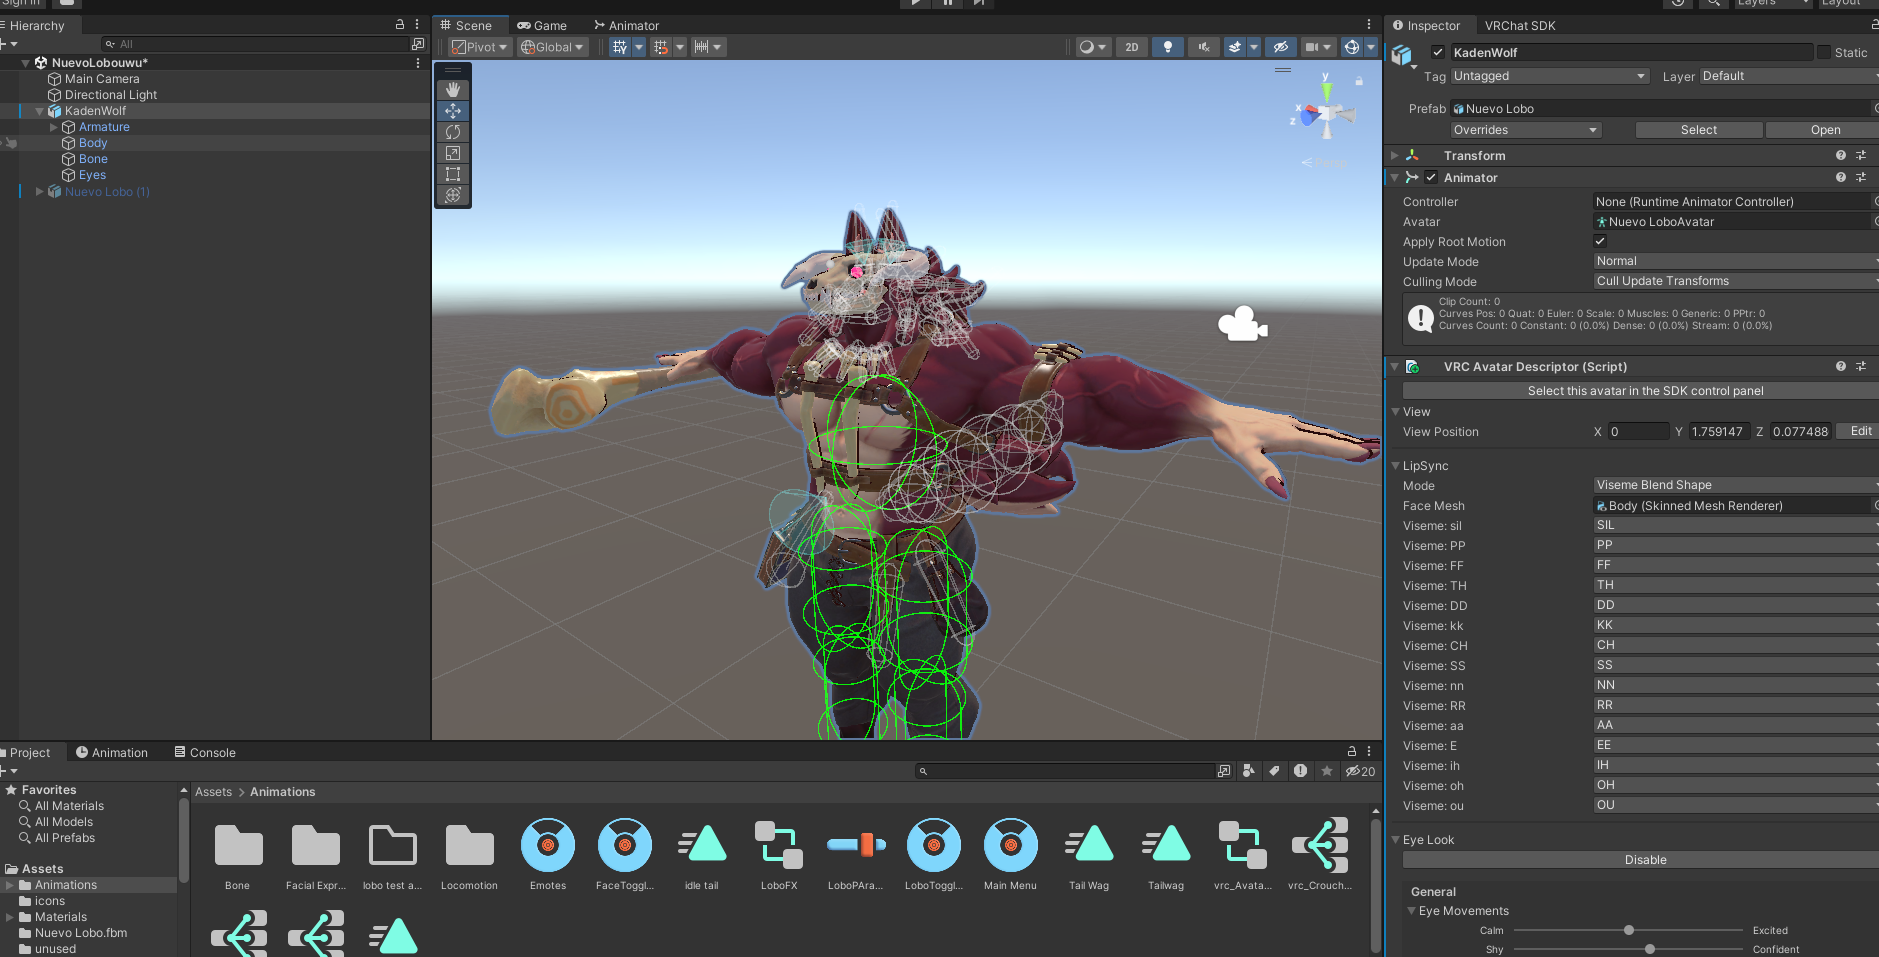
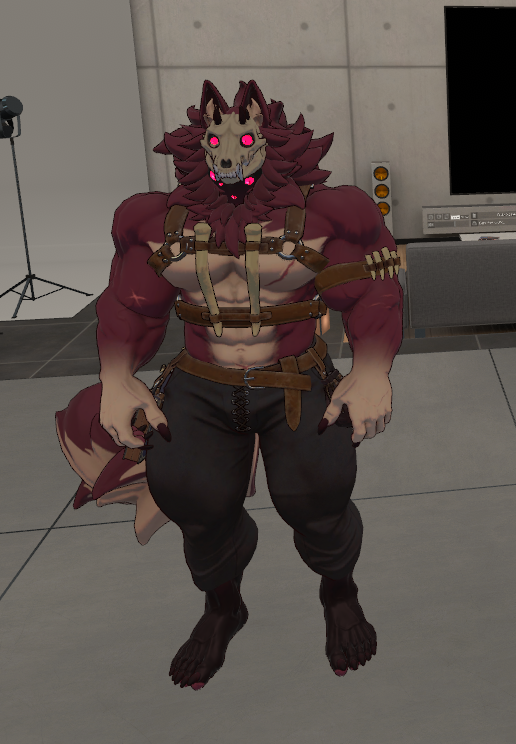
UNITY SETUP — VRCHAT IMPLEMENTATION
WHAT HAPPENS HERE
I import your character into Unity and set up everything needed for VRChat. This includes avatar descriptor setup, animation controllers, expression menus, physics, shaders, and optimization.
WHY IT MATTERS TO YOU
This is what makes your character actually work in VRChat. It's not just importing a model — it's building the entire interactive system that lets you control your avatar, toggle features, and interact with the world.
WHAT'S INCLUDED
- Avatar Setup: Proper descriptor configuration, viewpoint, eye tracking
- Animation System: Gesture animations, AFK animations, emotes
- Expression Menu: Custom menu for toggles and controls
- Toggles: Outfit swaps, accessories, visibility options
- Physics: PhysBones for hair, tail, ears, clothing, etc.
- Shaders: Optimized materials that look good and perform well
- Optimization: Ensuring good performance rating
- Icons: Custom menu icons for your toggles and features
What About Clothing?
Now that you know the full pipeline for creating a character model, here's the thing: clothing and other gear/items follow a pretty similar process. Same stages, just applied to shirts, pants, armor, accessories, etc.
I didn't document it separately because it'd be redundant — you get it.
Why This Takes the Time It Does
Every stage exists to ensure your character:
- Looks exactly how you envisioned
- Moves naturally and believably
- Works perfectly for your intended use (VRChat or Animation)
- Is built to last — proper topology, clean files, no shortcuts
This is why 3D characters take weeks, not days. Each stage requires specialized skills, and skipping steps results in characters that look stiff, deform poorly, or can't be used the way you want.
Questions about any stage? Ask before booking — I want you to understand exactly what you're commissioning.